& Construction

Integrated BIM tools, including Revit, AutoCAD, and Civil 3D
& Manufacturing

Professional CAD/CAM tools built on Inventor and AutoCAD
In this exercise, we will add columns at grid intersections
Catch-up file completed to this point: 07_Medical Center_Columns.rvt

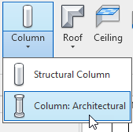
Figure 7–1 The Architectural Column Tool
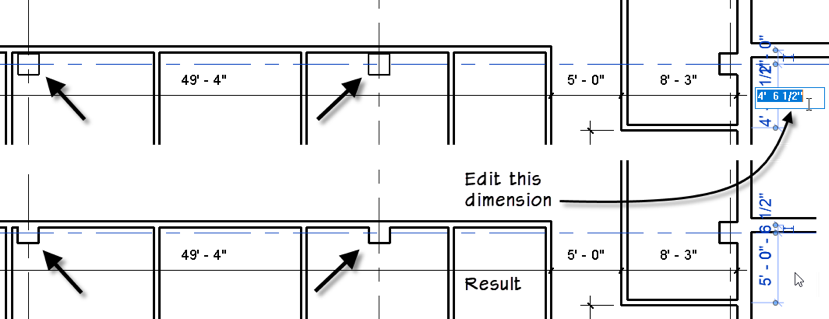
Notice how the architectural columns engage with the architectural walls.

If the column does not touch the wall, it will not merge. For example, some of the columns on Grid E do not merge. If you move either the wall or the Grid line they will merge when they touch.

Figure 7–2 Moving a grid line will move all columns on the grid line
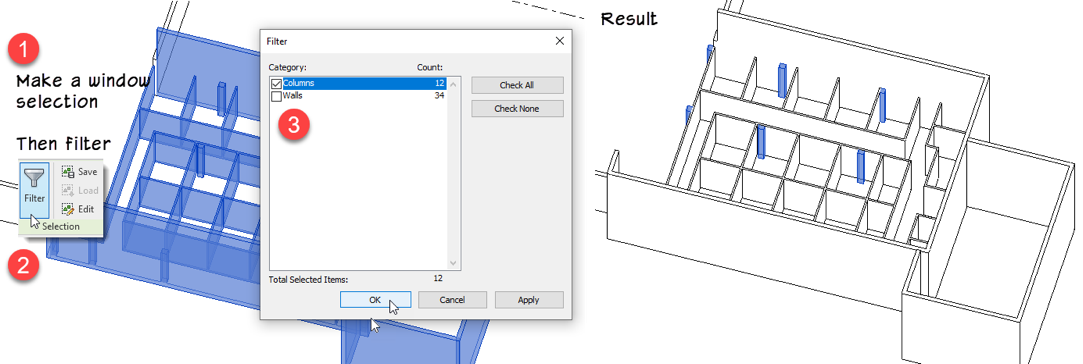
This action will select more than the columns.
The “Filter” dialog appears allowing us to fine-tune the selection by removing categories we don’t need selected.

Figure 7–3 Make a window selection and then Filter to select only the columns

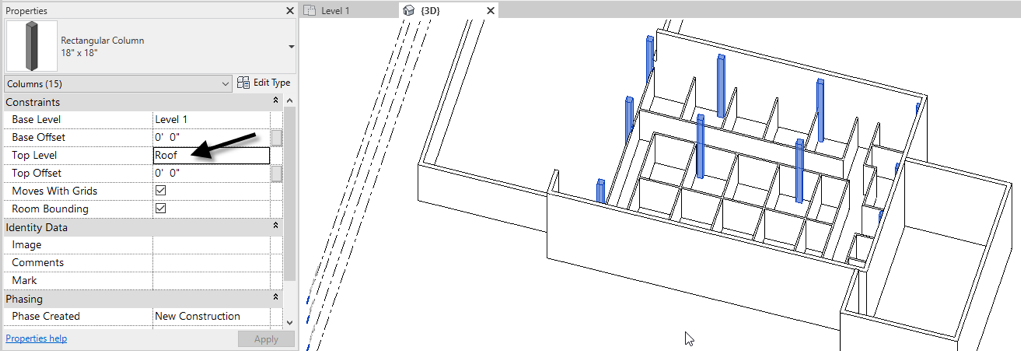
Figure 7–4 Associate the height of the columns with the Roof level