Defining facility sections using 3D views in Revit
Define facility sections using views in Revit - Exercise
Task 1: Open a 3D view
- Open RAC_basic_sample_project.rvt from the supplied dataset.
- Open the default 3D view by using one of three methods:
- In the Project Browser, under 3D Views, double-click on {3D}.
- In the Quick Access Toolbar, click Default 3D View.

- In the ribbon, in the View tab>Create panel, click Default 3D View.
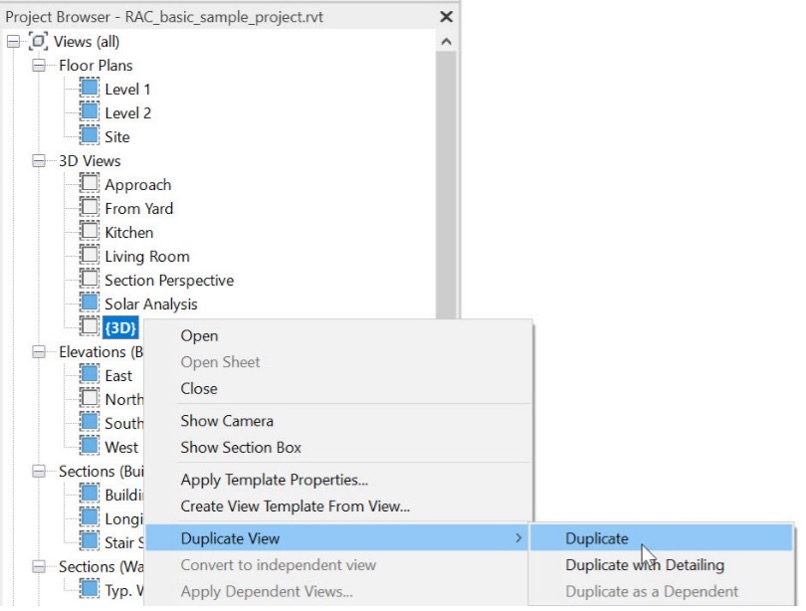
- In the Project Browser, right-click on {3D} and select Duplicate View>Duplicate. A new {3D} view displays in the Project Browser with Copy 1 at the end of the name.
- In the Project Browser, right-click on {3D} Copy 1 and rename it 3D- OUTSIDE VIEW.
Task 2: Create a camera view
- In the Project Browser, open the Floor Plans: Site view.
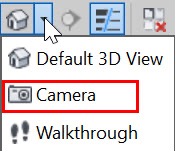
- In the Quick Access Toolbar, expand the Default 3D View and select Camera.
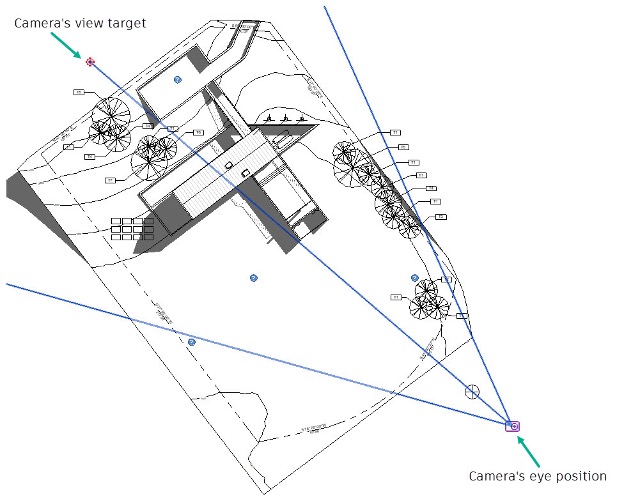
- Click the lower-right side of the model for the eye position. Click at the back of the model to place the view target.
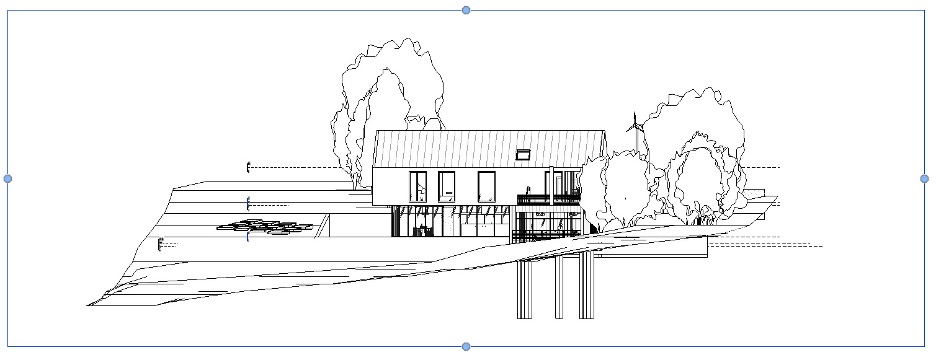
- The new camera view displays. There is also a new view in the Project Browser called 3D View 1.
- In Properties, in the Camera section, change the Project Mode to Orthographic.
- Return to the Site view.
- Start the Camera command again. In the Option Bar, uncheck Perspective.
- Click the lower right side of the model for the eye position. Click at the back of the model to place the view target. The orthographic camera view displays.
- Rotate the view by holding down both <Shift> and your mouse wheel button. Move your mouse around to rotate the orthographic view.
- Return to the Site view.
- Start the Camera command again. In the Option Bar, verify Perspective is checked.
- Click on the left side of the building for the eye position. Click at the back of the building to place the view target. The perspective view displays.
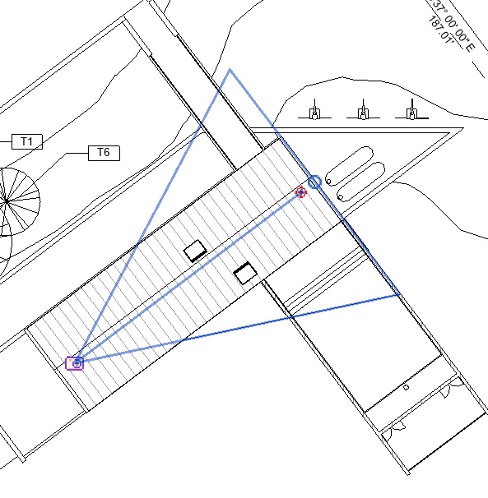
- Modify what you see in the perspective view by dragging the controls out to widen the camera and rotate in the view.
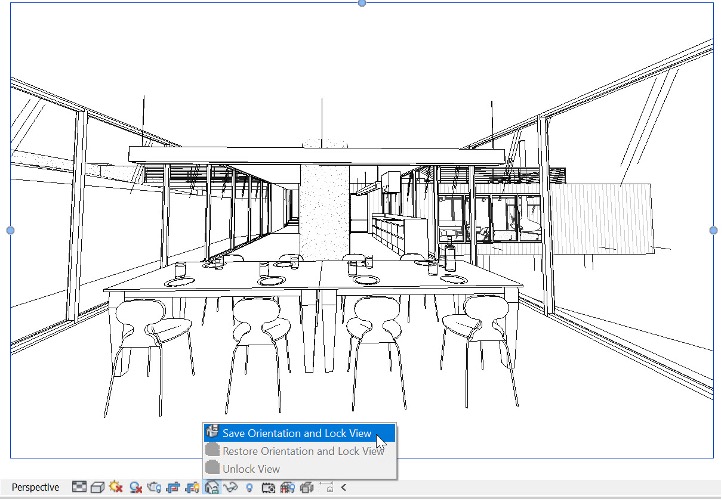
- Lock the perspective view from the View Control Bar by expanding Unlocked 3D View and selecting Save Orientation and Lock View.
- Save and close the project.


