People Flow Toolkit Integration for Movement Simulation
3-Create and Analyze Movement Paths
Activity
- Launch Revit 2020 or 2021 and open the medical center sample RVT file you saved in the previous lesson.
- Navigate to the “Working Ground Floor” floor plan view.
- Click the “Analyze” ribbon then click the “One Way Indicator” tool.
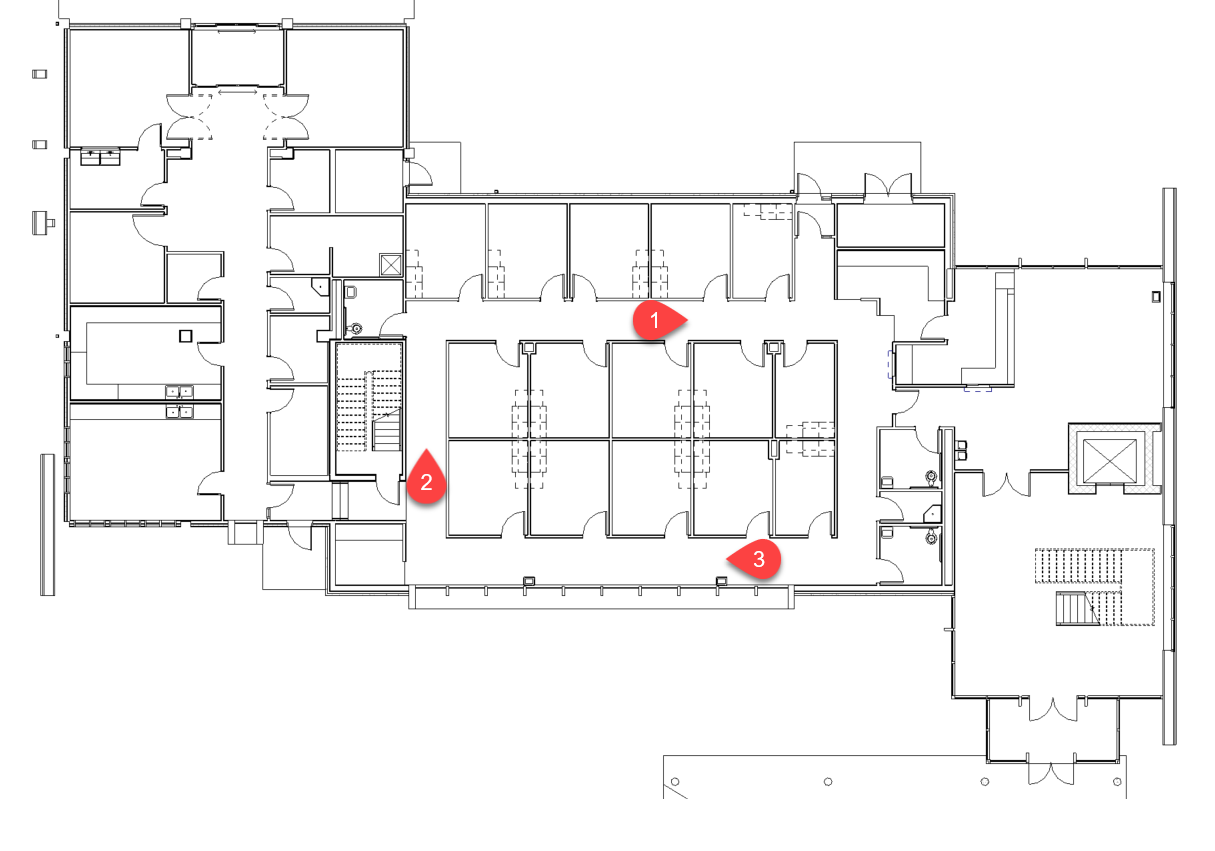
- Place additional indicators in the corridor at the following locations:

- Select the path then click the “Update Path” button.
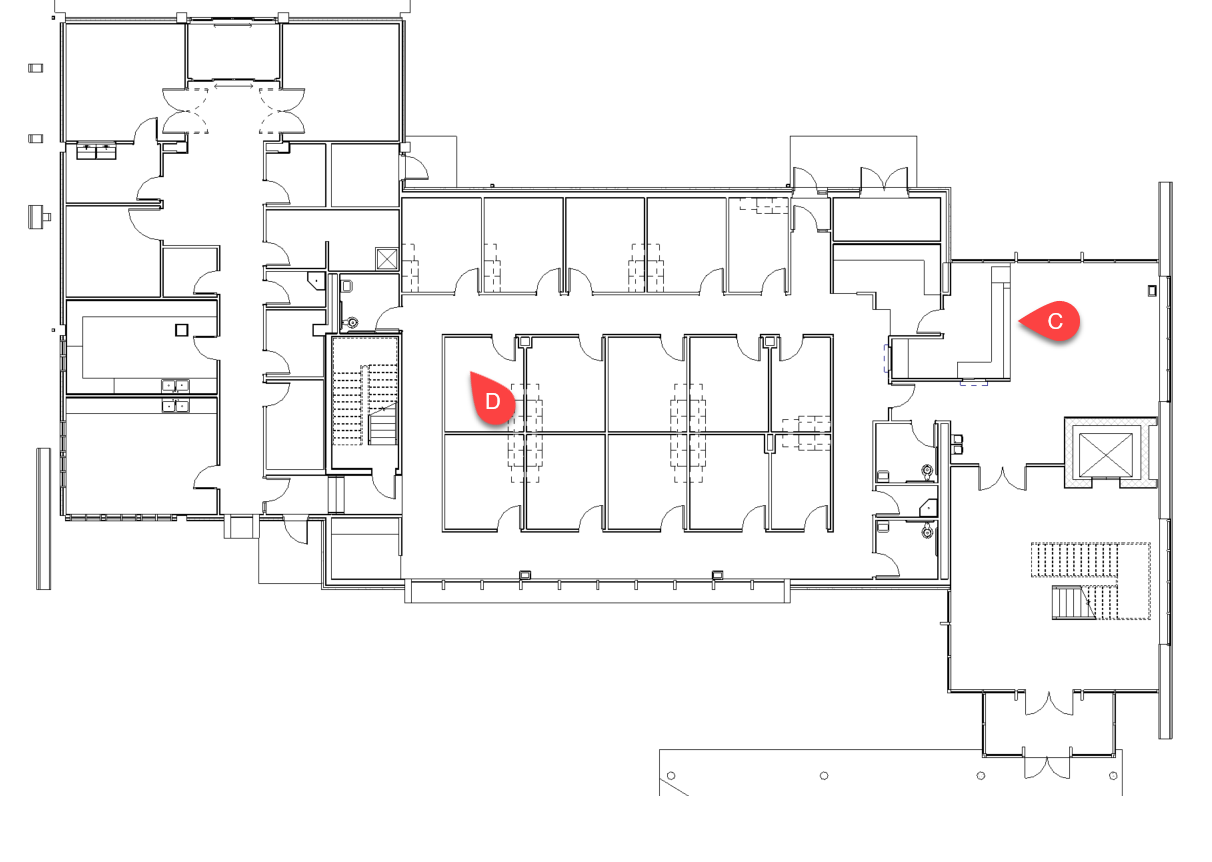
- Drag the path endpoint located in the exam room to the exit location (point “C”) indicated below:

- Take note of the path distance. Now select the path and drag the endpoint to the exit location marked “D” above. Note the path distance. Change the direction of the corridor “One Way Indicators” and update the paths. See which combination of exits and directions yield the shortest path lengths.
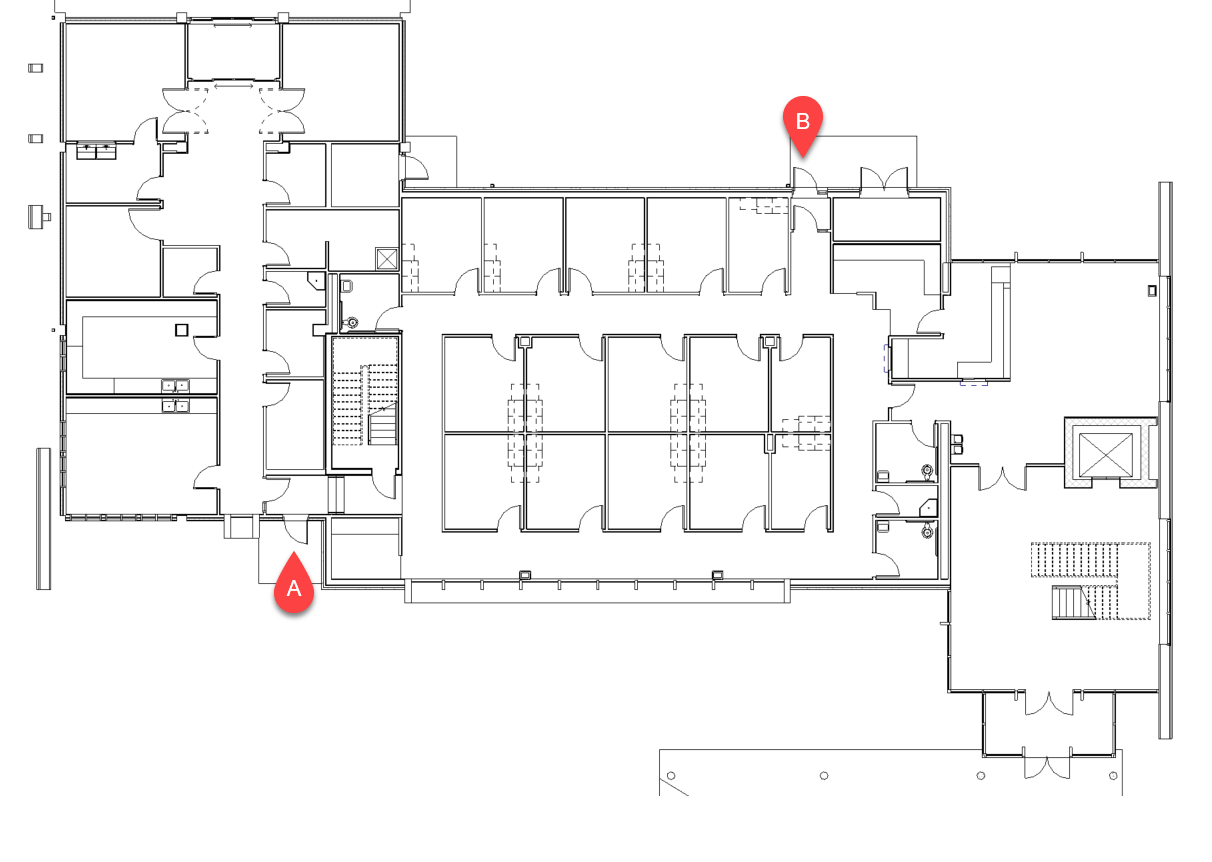
- Select the path then click the “Add Waypoint” button. Add two waypoints then drag the waypoints to the reception and exam room locations as indicated below:

- Click the “Update” button to update the path. Note the path length.
- Click the path then drag the path endpoint to the alternate exit location. Note the path length. Which exit provides a shorter path of travel?
- Click the “People Content” button and add 3 – 5 people throughout the building. Make sure at least two instances overlap the path. Click the “Update” to update the path. How does the path change to accommodate socially distancing the people?
- Click the “Spatial Grid” button, choose either the square or hexagon option then select some rooms in the model to place the grids. Adjust any people in the room to fit with a grid square but away from the path.
- Select the path then click the “Update” button. How does the path update now?
- Try several different exam room locations and exit locations to determine the best and worst path lengths. Adjust the indicator direction as needed.
- Save your file.


