Print networks in InfoAsset Manager
Step-by-step guide
InfoAsset Manager offers several printing-related options and settings that are accessible from the File menu.
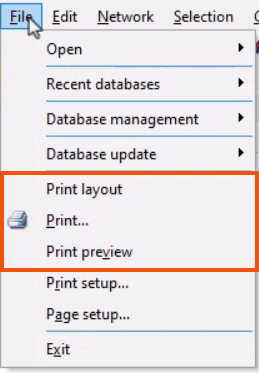
The Print command allows you to print the currently active window using the classic printing options.
- Select Print.
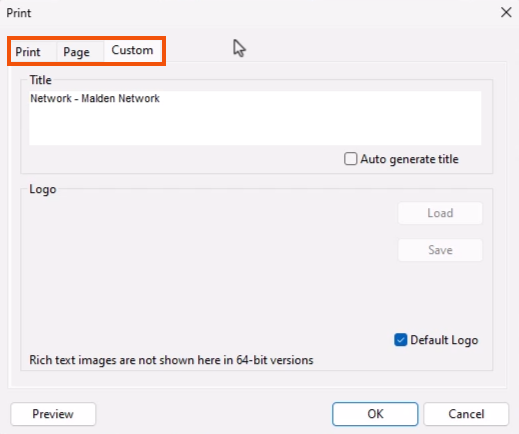
- In the Print dialog, select the Print, Page, and Custom tabs to review the available print settings and preferences.
- On the Custom tab, change the page title by shortening it to “Malden Network”.
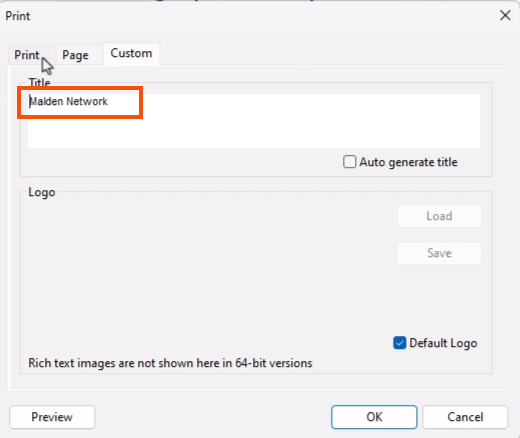
This tab also provides the option to set up a custom logo for inclusion on each page.
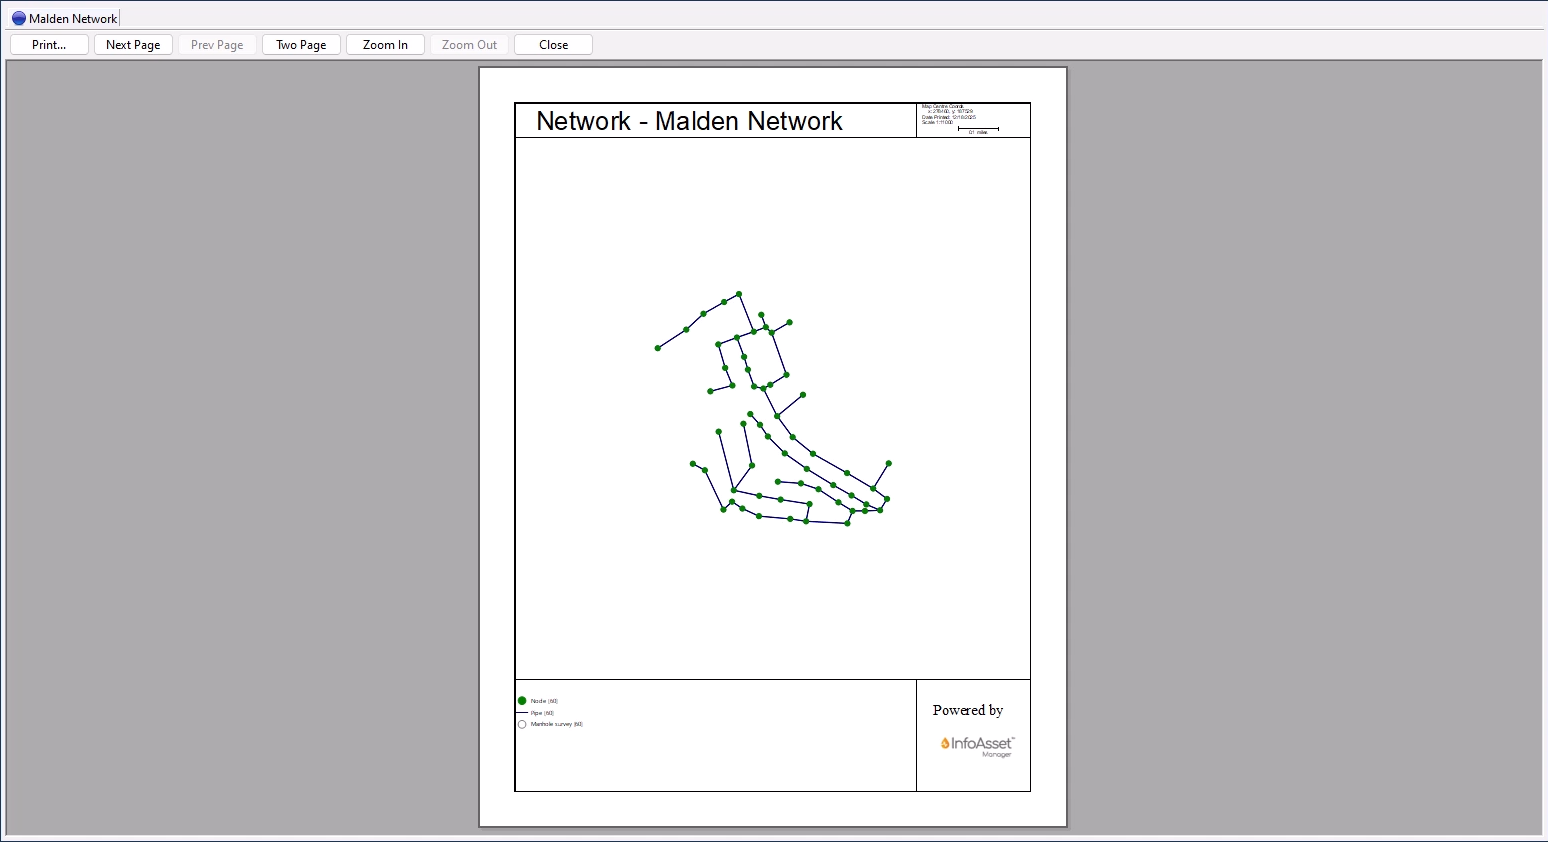
Print preview shows what printed pages will look like and is useful for testing different settings.
- Select File > Print preview to open the preview.
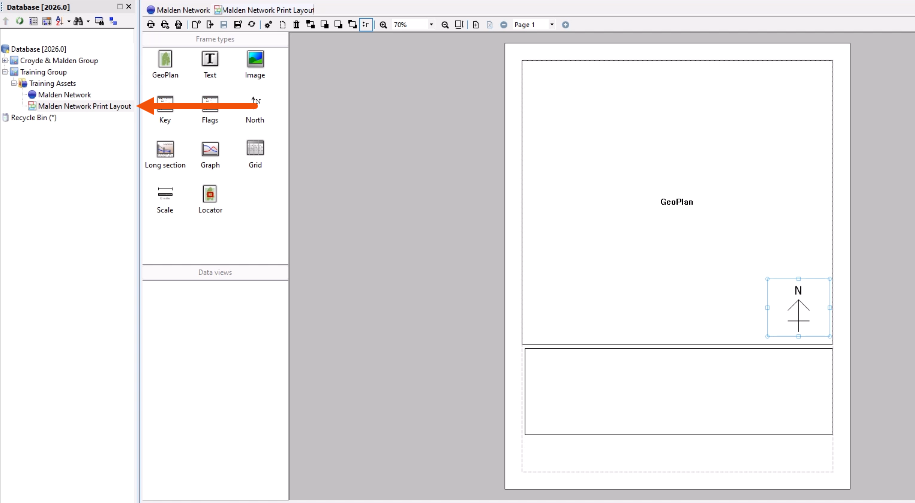
Print layouts provide a flexible method of customizing the printed output. Layouts are edited in the Print Layout View, which is used to position frames of different content types and set frame properties. The frame settings and positions can be saved as a template in the tree view for future use. Print layouts may consist of multiple pages.
- To access the Print Layout View, from the File menu, select Print layout.
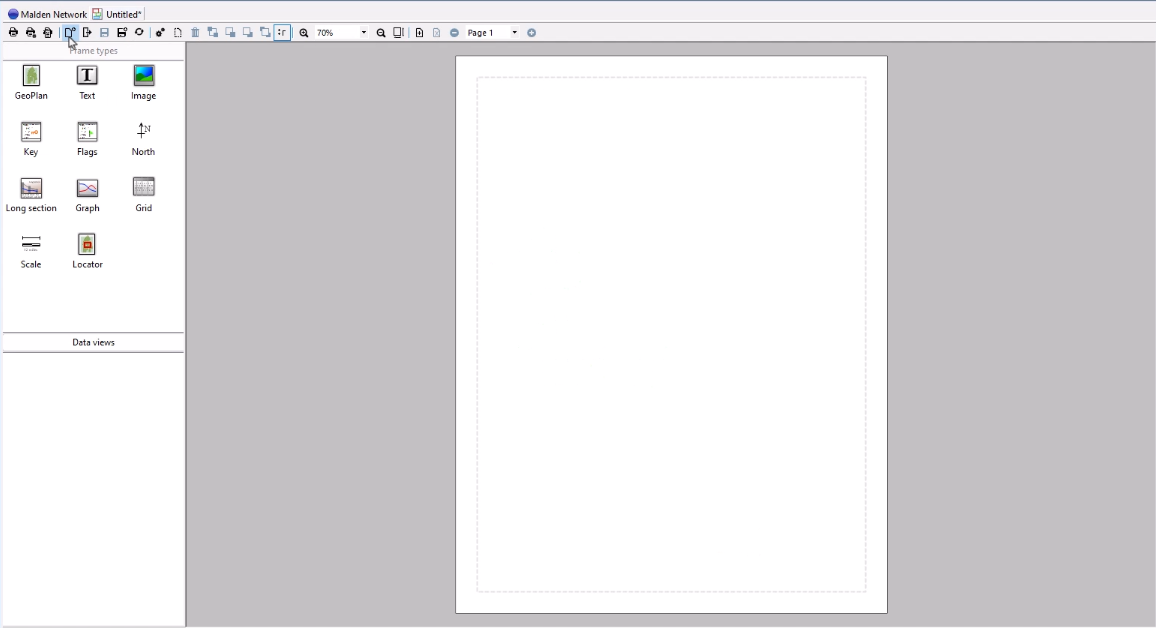
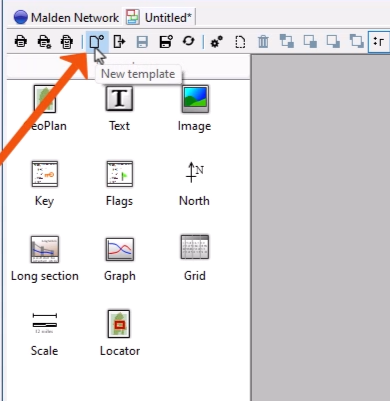
- In the Print Layout View toolbar, view an existing layout or click New template to load a blank template into the Page pane.
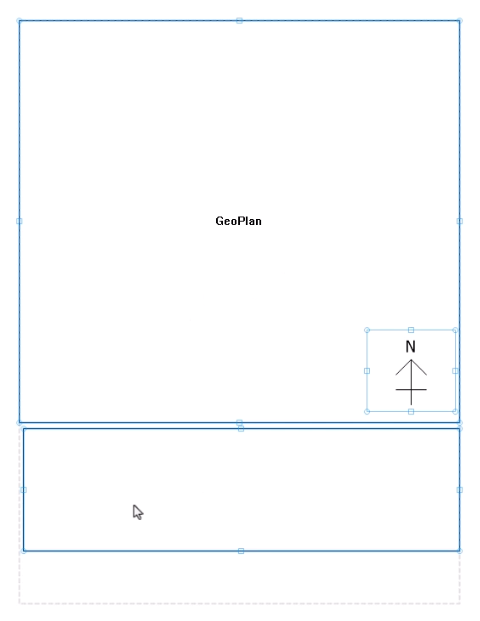
To create a print layout:
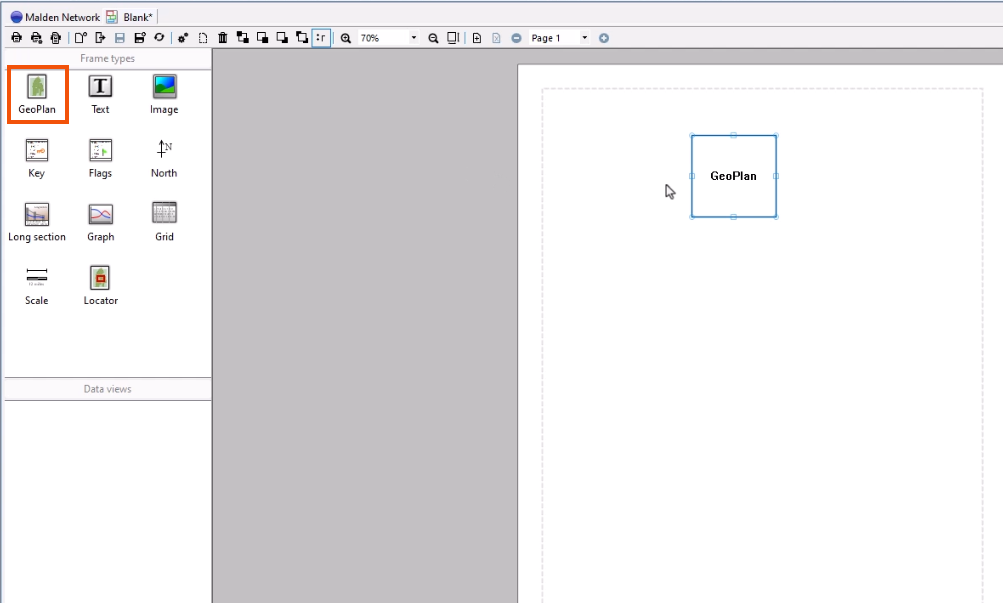
- Drag a frame type or data view, such as the GeoPlan, into the Page pane.
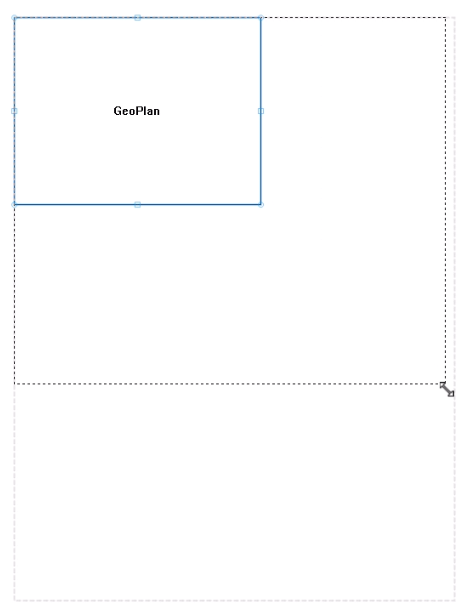
- Click the frame to highlight it.
- Drag to reposition the frame.
- Drag the handles to resize the frame.
- Press and hold CTRL to select multiple frames.
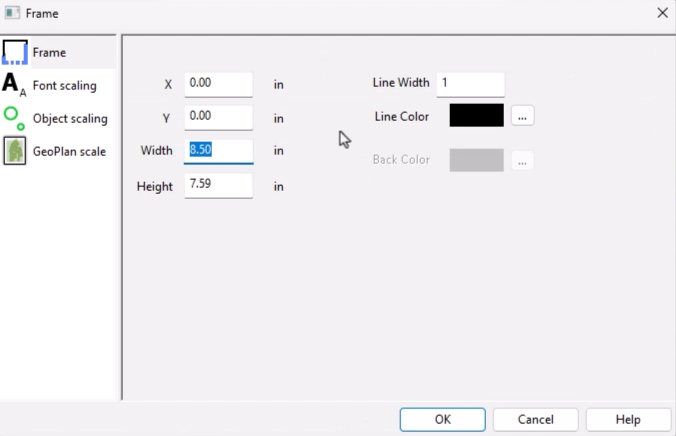
- Double-click a selected frame to view its properties.
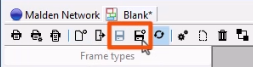
- To save a print layout, on the toolbar, use the Save or Save as tools.
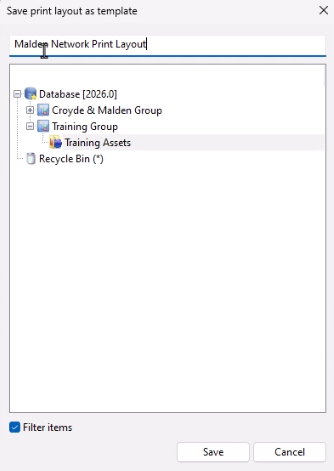
- In the Save print layout as template dialog, specify a name and location to save the print layout to the tree view.
To load an existing print layout template:
- Select the print layout and drag it from the tree view into the main window.
- Alternatively, from the Print Layout View, click Load.
- In the Load dialog, select the desired layout.


