Import snapshot and transfer data
Step-by-step guide
In InfoAsset Manager, once a network is created and a coordinate system is set, network data can be imported from a range of external sources, including snapshot files, AutoCAD DWG files, GIS files, CSV files, ESRI geodatabases, and more.
In this example, a snapshot file is used to demonstrate the import process. A snapshot is a file that has been exported from an existing network, and it reflects the network at that moment in time.
Snapshots can be shared with other users to import, view, and edit the network. These changes can then be incorporated back into the original, if needed, via snapshots. For example, you might send a copy of the network to a colleague or consultant, or take a copy into the field or to another office on a laptop.
Snapshots can be quicker than using a transportable database, but the version history of the objects will not be available when using data imported from a snapshot.
To import a snapshot file:
- From the Network menu, select Import > Snapshot file.

The extension of snapshot files that can be imported depends on the type of network that the data is being imported to:
- Distribution networks have an extension of .isfd
- Collection networks have an extension of .isfc
- Asset networks have an extension of .isfa.
- For this example, in the Open dialog, locate and select the collection network .ifsc file.
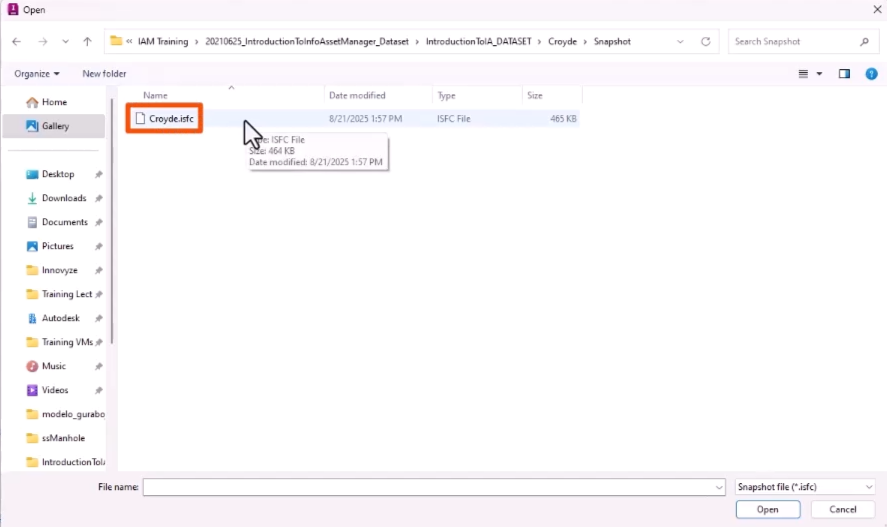
- Click Open.
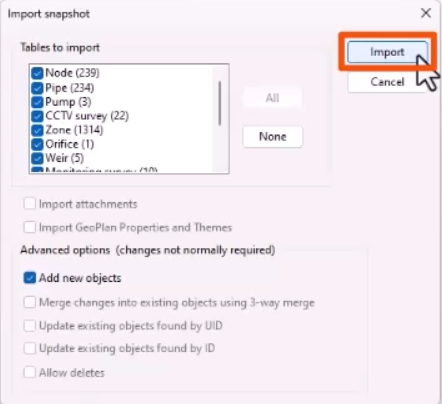
- Optionally, in the Import snapshot dialog, refine the import.
- Click Import.
If any errors occur during the import operation, an error message will display.
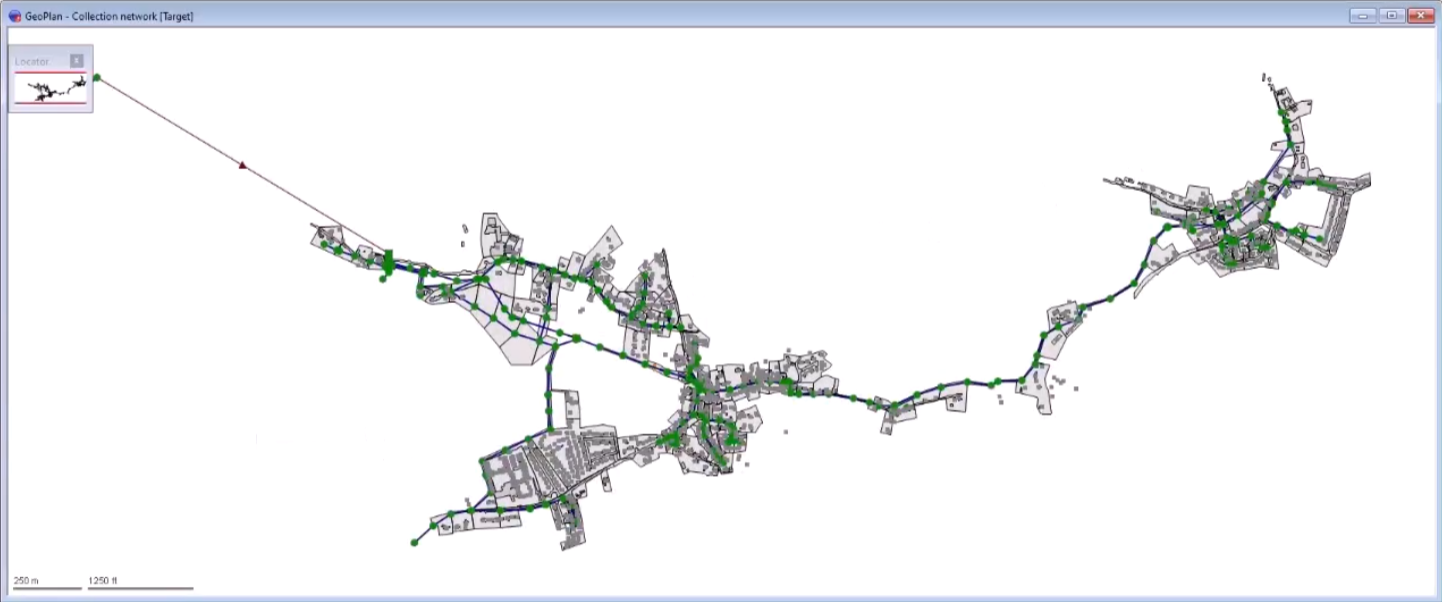
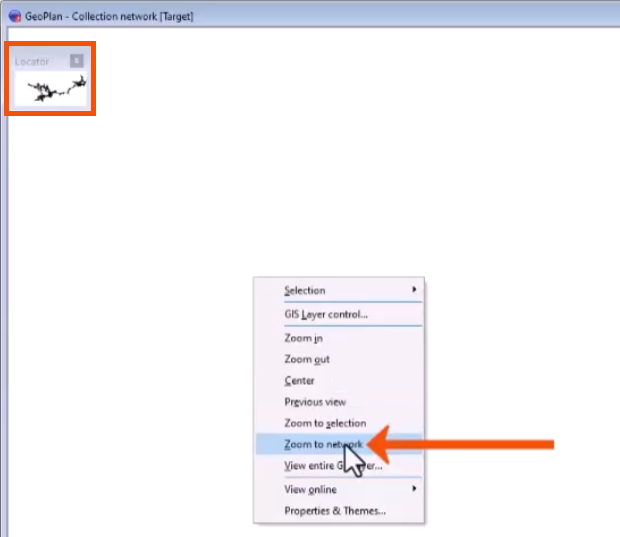
Once the import is complete, the Locator window shows the imported data from the network.
- To display the network, press F12 or right-click the GeoPlan and select Zoom to network.
The imported network opens in the GeoPlan.