Exercise 1–Create a Sheet
When you want to share your work, you can print from any Revit view. But to control the printing process and create professional results, set up sheets.
Catch-up file completed to this point: 20_Medical Center_Sheets.rvt
Adjust view extents
Let’s start by getting views ready for placement on Sheets.
- On Project Browser, double-click to open the South elevation.
Now that we have the toposurface (from the previous exercise), the elevation extents are larger. Let’s crop the view.
- On the Properties palette, beneath Extents, check both Crop View and Crop Region Visible (see Figure 20–1).
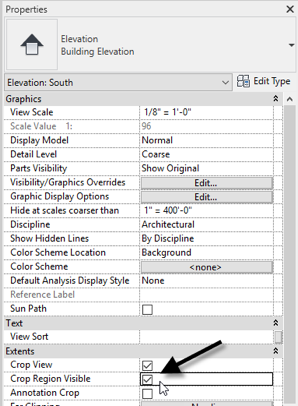
Figure 20–1 Turn on view cropping for the South elevation
- Select the large rectangle (crop region) that appears around the elevation (zoom if required) and using the small round control handles, crop the view to be just larger than the building all the way around (see Figure 20–2).
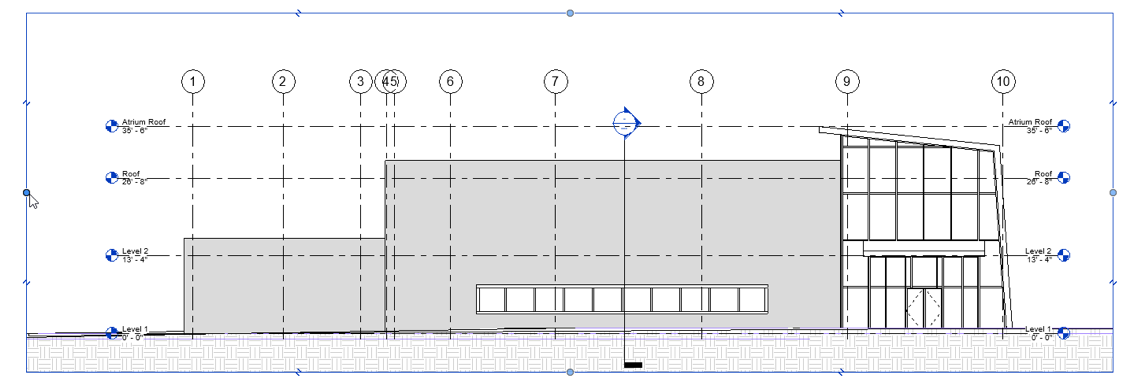
Figure 20–2 Crop the elevation view using the crop region control handles
- Open the North elevation and repeat the process.
- Repeat for other views if you like.
Create a Sheet
Now let’s add a sheet for the North and South elevations.
- On Project Browser, locate the Sheets branch, right-click it and choose: New Sheet.
- In the “New Sheet” dialog, accept the default choice of titleblock and then click OK.
- On the Browser, right-click on A101 – Unnamed and choose: Rename.
- Change the number to: A201, and the Name to: Elevations (see Figure 20–3).
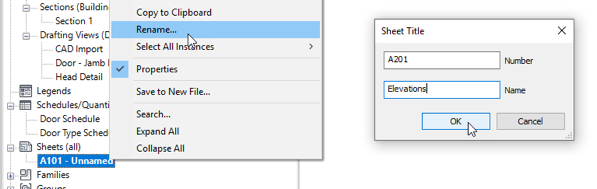
Figure 20–3 Create a new sheet and rename and renumber it
- From Project Browser, drag the South elevation and drop it on the sheet.
- Click to place it on the sheet.
- Repeat for the North elevation (see Figure 20–4).
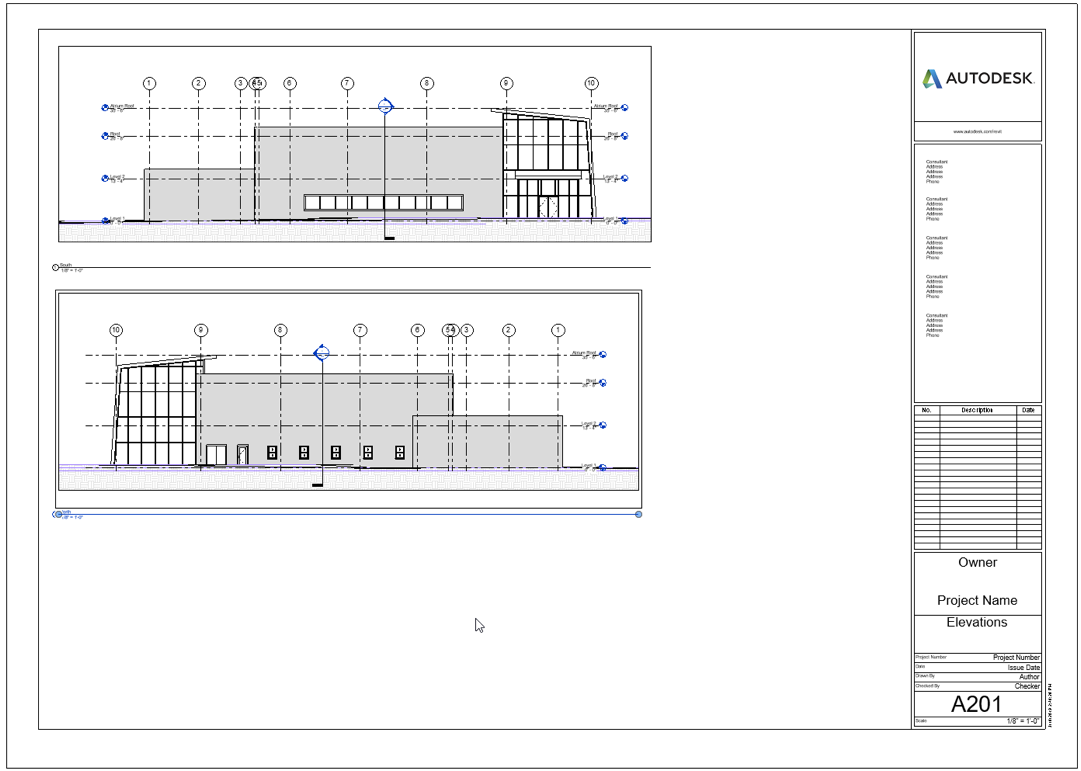
Figure 20–4 Drag views onto the sheet
- Zoom in beneath each viewport.
Notice that the two viewports have been named and numbered automatically.
- On the Project Browser, double-click to open Level 1 floor plan.
- Zoom in on the elevation markers (see Figure 20–5).
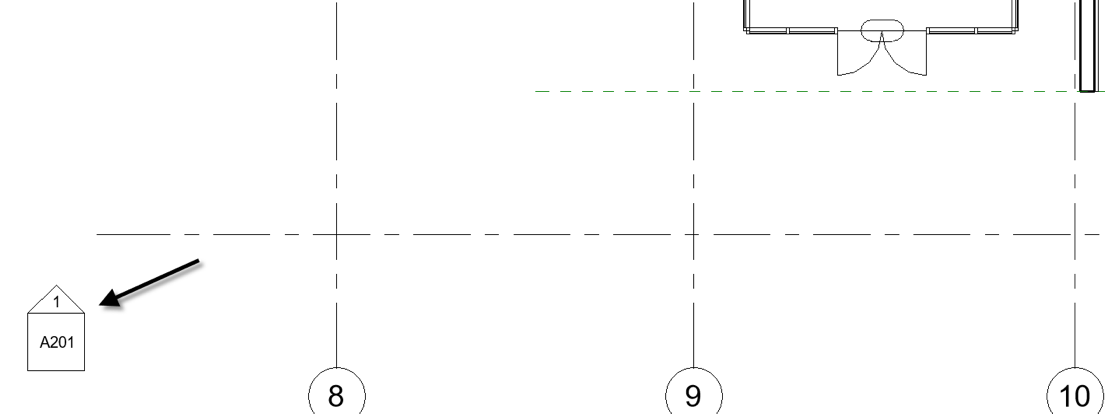
Figure 20–5 When views are added to sheets, their view references automatically update throughout the project
Notice that the sheet number and view number also fill in automatically.
To print the sheet, simple choose print from the File Menu.
Feel free to create additional sheets and print them if you wish.


