Save a selection list in InfoAsset Manager
Step-by-step guide
A selection of objects, including trace selections, can be saved as a selection list, to easily reselect the same objects at any time, or to share them with other users. A selection list contains the names of the saved network objects.
Begin with a network open in the GeoPlan.
To create a selection list:
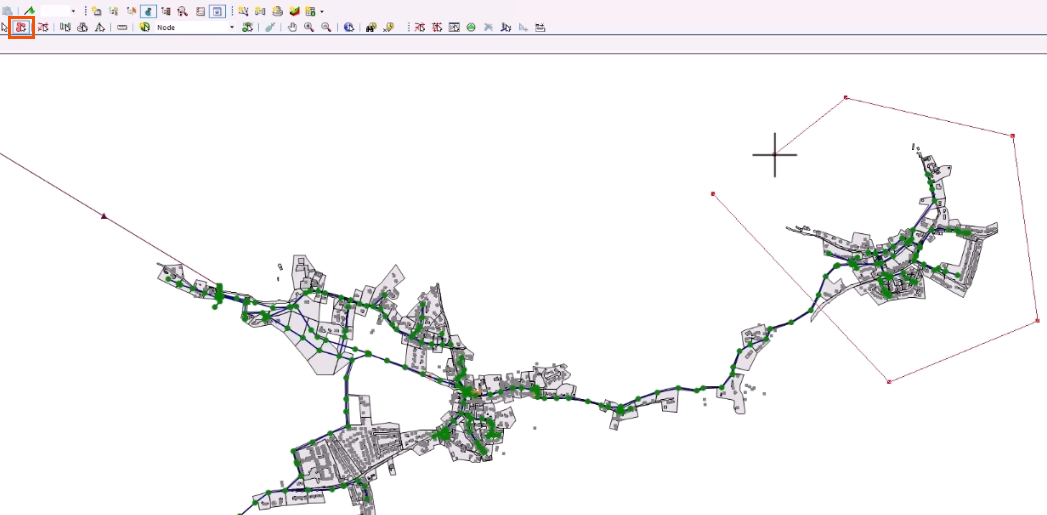
- Select the Polygon tool.
- In the GeoPlan, create a polygon to select several objects.
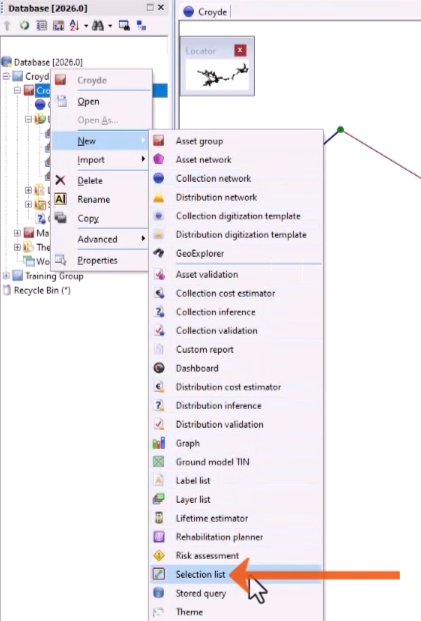
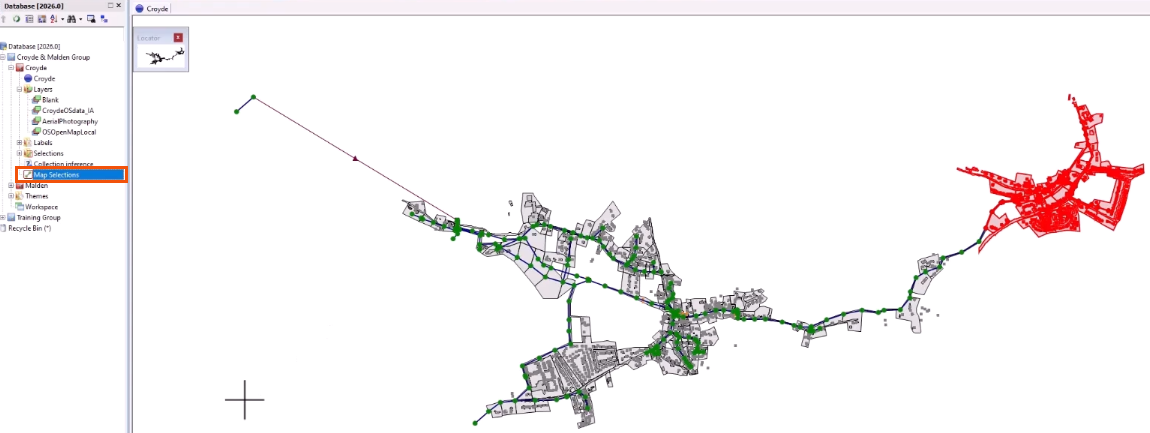
- In the Explorer window, right-click the Asset Group to which the list will be saved—in this example, Croyde.
- Choose New > Selection list.
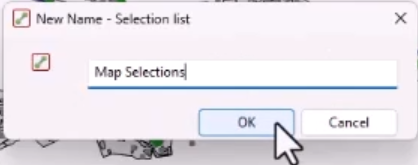
- In the popup, add a name for the selection list, such as “Map Selections“.
- Click OK.
When creating several selection lists in a project, a useful organizational tip is to create a new Asset Group named “Selection Lists” within the top-level group.
To apply a selection list to the GeoPlan:
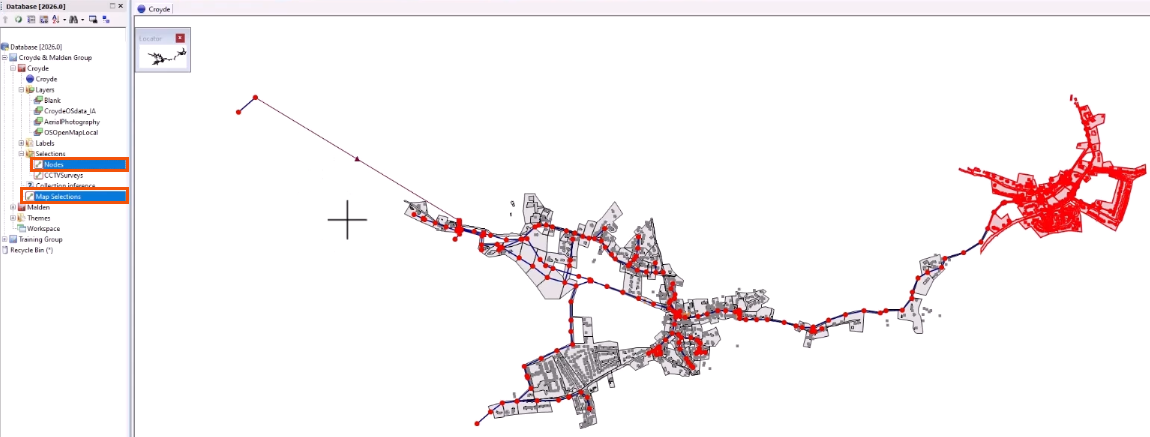
- On the Selection toolbar, click Clear selection.
- From the Explorer, double-click the list just created, Map Selections, or drag it onto the GeoPlan.
All objects in the list are now selected and displayed in red.
To apply multiple selection lists:
- From the Explorer window, hold the CTRL key while selecting each list.
- Drag the selection and drop it onto the GeoPlan.
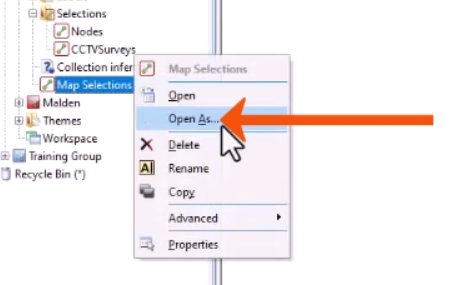
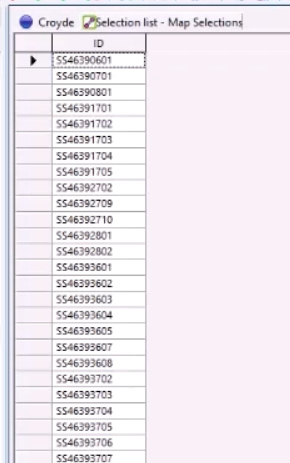
To view the names of all network objects in a selection list, open it in a Grid window.
- In the Explorer, right-click Map Selections and select Open As.
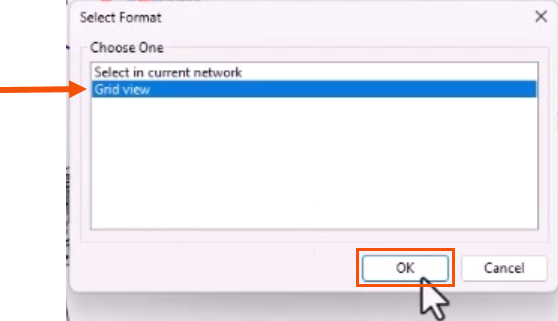
- In the Select Format dialog, select Grid view.
- Click OK.
When a selection list is created, only the object IDs are saved. This means that it can be transferred between networks.
An external list of object IDs can be used to quickly create a selection list.
First, create a new, blank selection list.
- Back in the GeoPlan, click Clear selection.
- Right-click the Asset Group and select New > Selection List.
- Name the selection list appropriately, such as “Manual Selection”.
- Click OK.
Now, simply copy and paste the external list into the selection list.
- Open the new selection list in a grid view.
- Click the tab for the relevant object type tab—in this case, Pipe.
- Paste the list of IDs into the grid.

- Close the window.
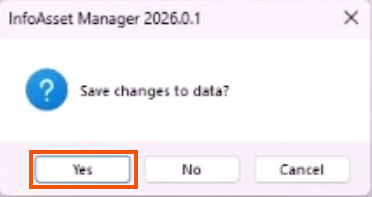
- Click Yes to save.