Open and configure grid views in InfoAsset Manager
Step-by-step guide
In InfoAsset Manager, grid views can be used to view and edit the properties of multiple network objects. Grids are spreadsheet-style data tables of objects and are divided into groups. Each group contains grids for one class of object and related sub-objects.
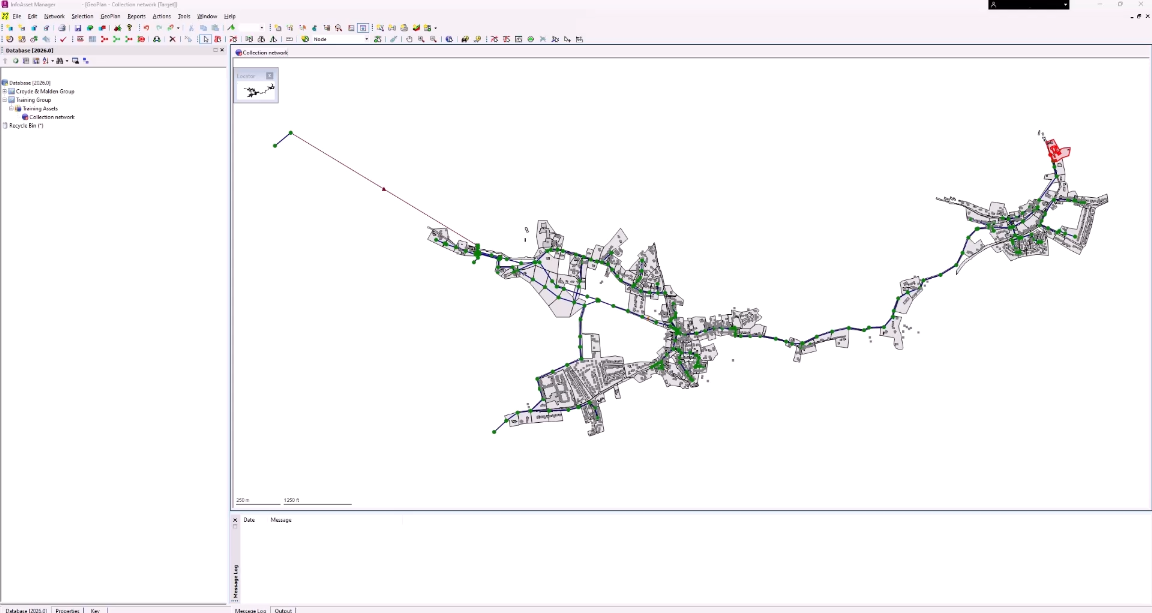
Grid windows can only be opened when a network is already open.
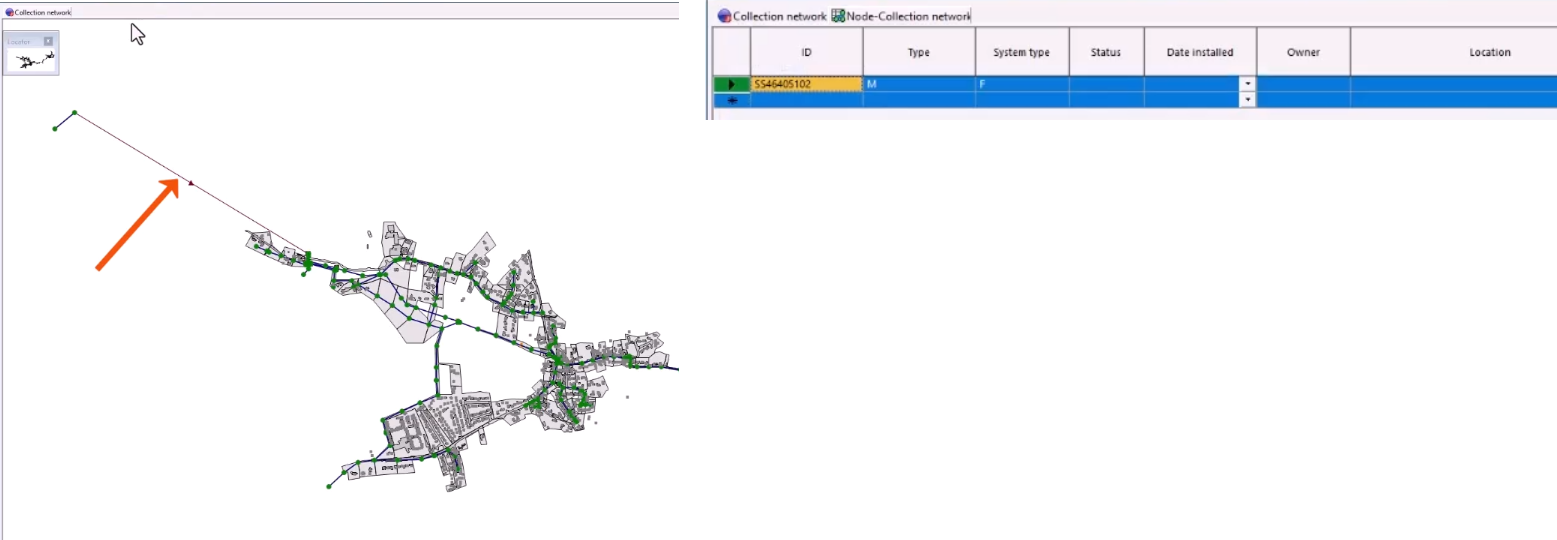
To open a grid view for all nodes in a network.
- Select Window > Grid windows.
- In the flyout, select a grid option, such as New asset window.
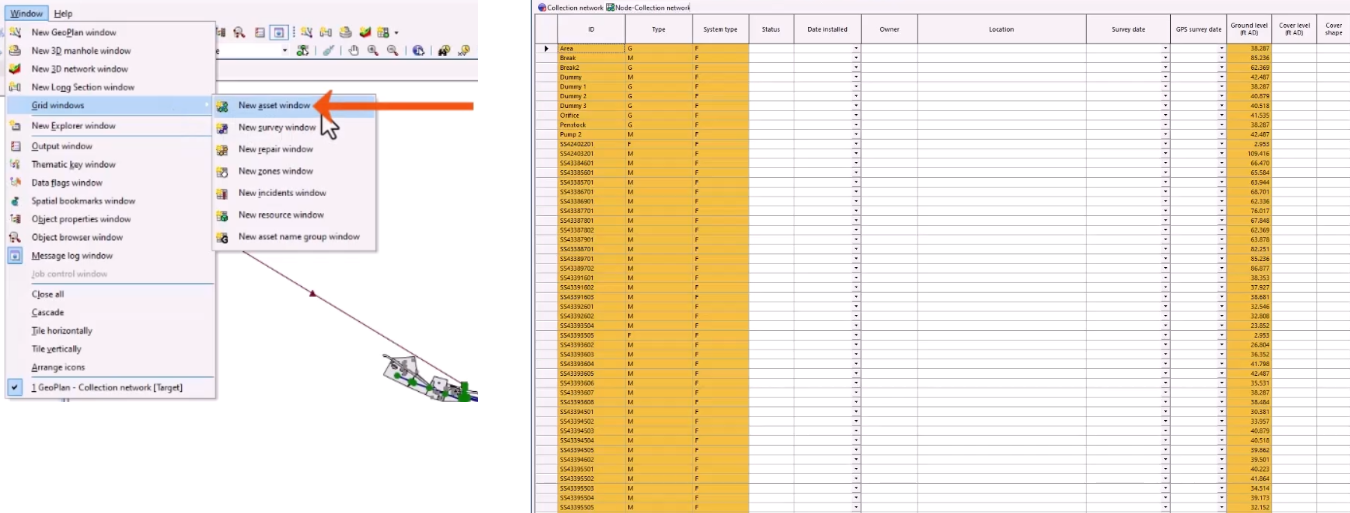
- Alternatively, from the Windows toolbar, expand the Grid windows drop-down and select an option.
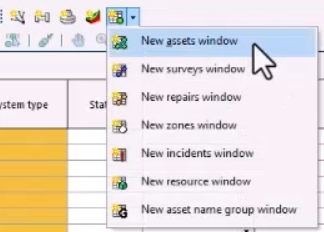
These same grid options can also be found on the Asset Grid Windows toolbar.
To open a grid window that includes only selected objects:
- Select the relevant objects in the GeoPlan.
- Hold down the CTRL key while opening the grid window.
In the open grid window, explore the available information and navigation options.
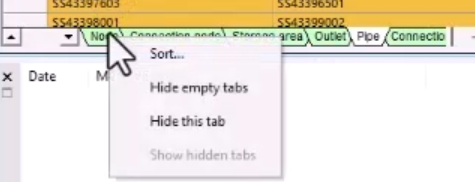
- To switch to different views within the grid, click the tabs along the bottom of the window.

- Right-click the tab area for a menu of options to Sort the tabs or Hide empty tabs.
- To find a specific column, right-click the column header and select Find column.
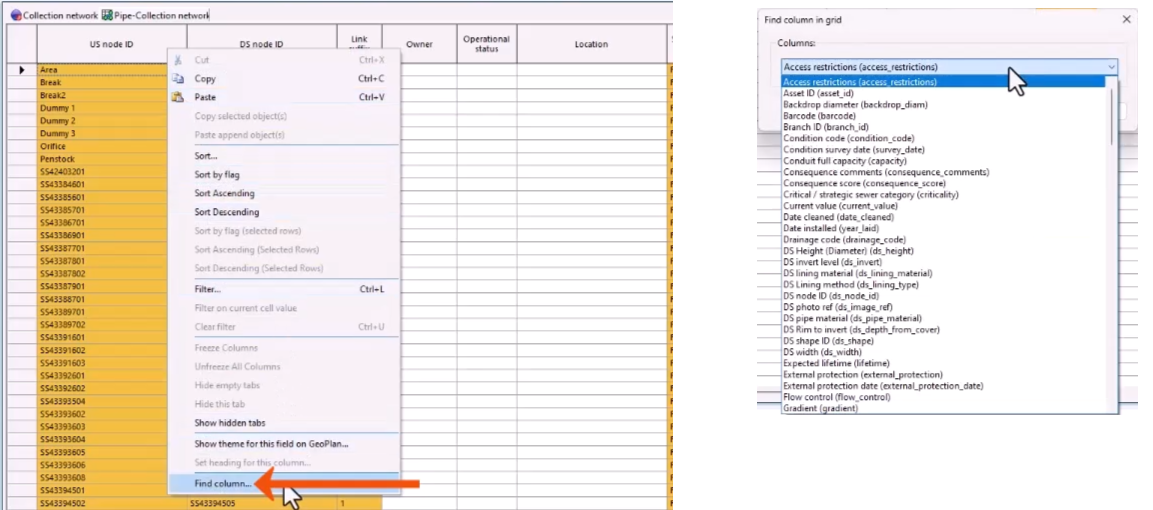
- To sort the values in a column, right-click a cell or column heading and select Sort Ascending or Sort Descending.
To apply a filter specific to a column:
- Right-click the column header, such as US width, and select Filter.
- In the Filter Column dialog, set the filter for network objects. For example, to show only pipes with a width of 150 mm, which is approximately 5.9 inches, set the width accordingly.

- Click OK to apply the filter.
- To view navigation options, right-click a row and select Navigate.
- Select an option, such as Upstream to, and then select the object.
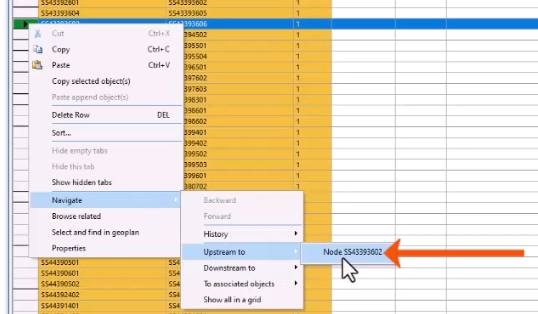
The grid window updates to the related object.
- To display a tooltip with information about the related object data field, hover the cursor over a column header.
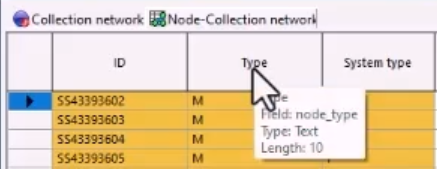
There are multiple data fields for each object type. Not all fields will be relevant to your organization or current project.
Grid layouts can be customized to focus on the most relevant information. Resize and reorder columns, or cut, copy, and paste whole columns or sections of data, as needed.
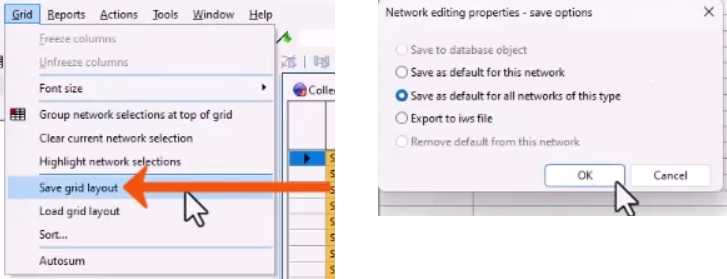
To save a customized grid window:
- From the Grid menu, select Save grid layout.
- In the save options dialog, select the appropriate option, such as Save as default for all networks of this type.
- Click OK.