Configure a custom workspace in InfoAsset Manager
Step-by-step guide
In InfoAsset Manager, the layout, formatting, and content of open windows can be saved as a custom workspace. The desktop can then be restored to this specific configuration by simply dragging the workspace object from the database tree onto the main window.
To create a workspace:
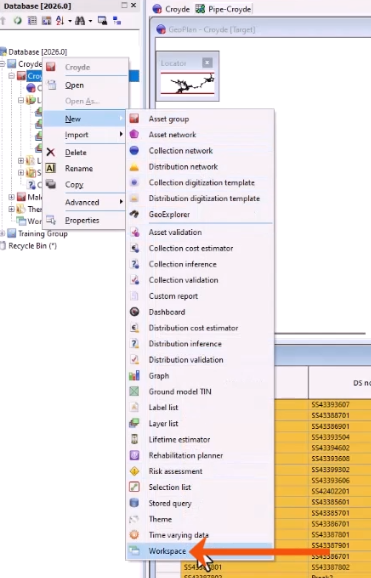
- From the Explorer window, right-click the Asset Group and New > Workspace.
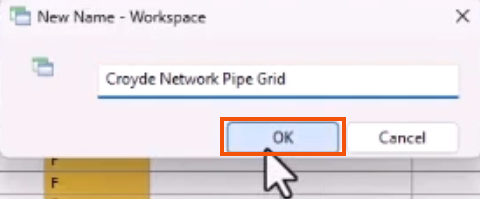
- In the New Name dialog, add a suitable name, such as “Croyde Network Pipe Grid“.
- Click OK.
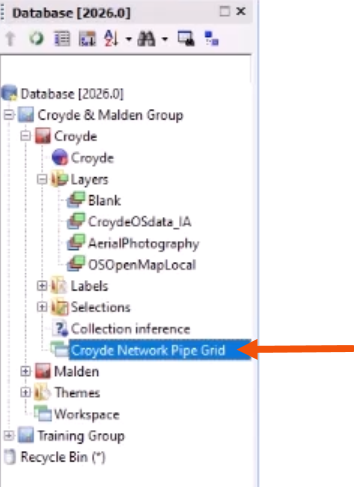
A workspace object is created that contains the current window configuration.
A warning will appear if there are unsupported windows open.
Once created, a workspace can be opened in the same way as any other database object.
- From the Explorer window, double-click the workspace.
- Alternatively, drag and drop the workspace onto the main window.

If there are existing windows open, they will close when the workspace opens.
- To prevent existing windows from closing, press CTRL when opening the workspace.
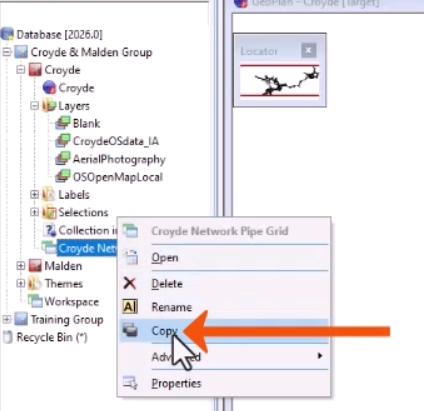
Workspaces can be copied within the database in the same way as any other object.
- Right-click the workspace and select Copy.
Workspaces are treated independently of data that might be displayed within the windows for which parameters are saved. Workspaces, along with the underlying data, can be copied between different databases, so that the workspace can be fully recreated.
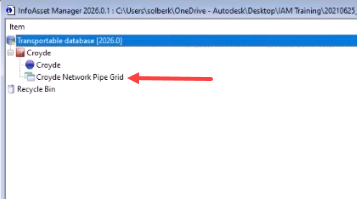
- Open a new transportable database.
- Name the database appropriately and save it.
- In the Explorer view of the new transportable database, right-click and Paste the workspace into the transportable database.
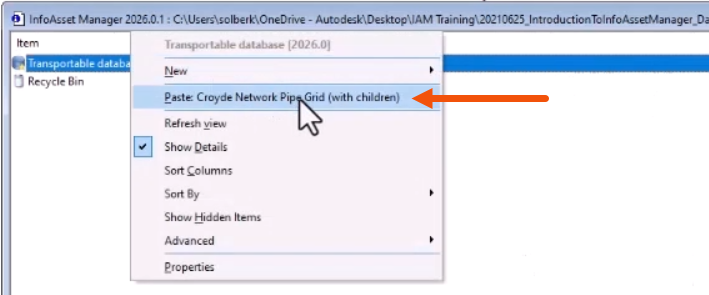
All related database objects not already in the transportable database will be included when the workspace is pasted.