Display background GIS layers in InfoAsset Manager
Step-by-step guide
Geographical Information System, or GIS, layers can be loaded and displayed on the GeoPlan window. This allows a network to be viewed and edited with background layers, such as roads or aerial photographs. GIS layers can then be saved and easily reloaded as layer lists.
To choose the map-display software:
- From the Tools menu, select Options.

- In the Options dialog, select the GeoPlan tab.
- In the Map Control group, use the drop-down to select from the available map controls, such as MapXtreme.
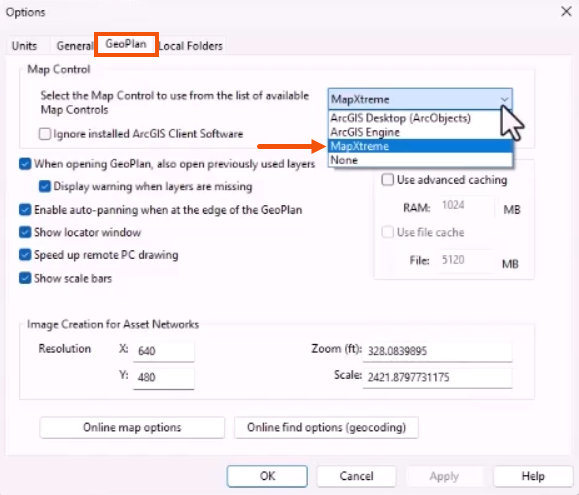
- Click OK.
To display a GIS layer on the GeoPlan:
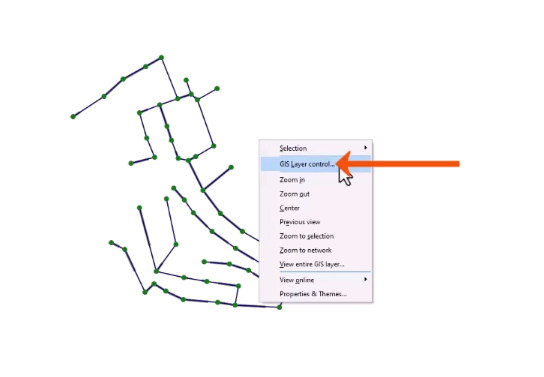
- Right-click the GeoPlan window and select GIS Layer control.
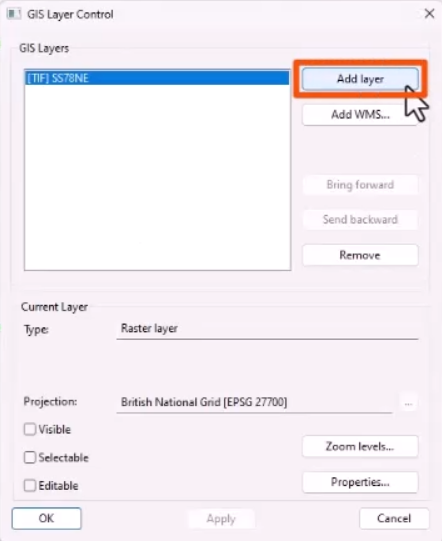
- In the GIS Layer Control dialog, click Add layer.
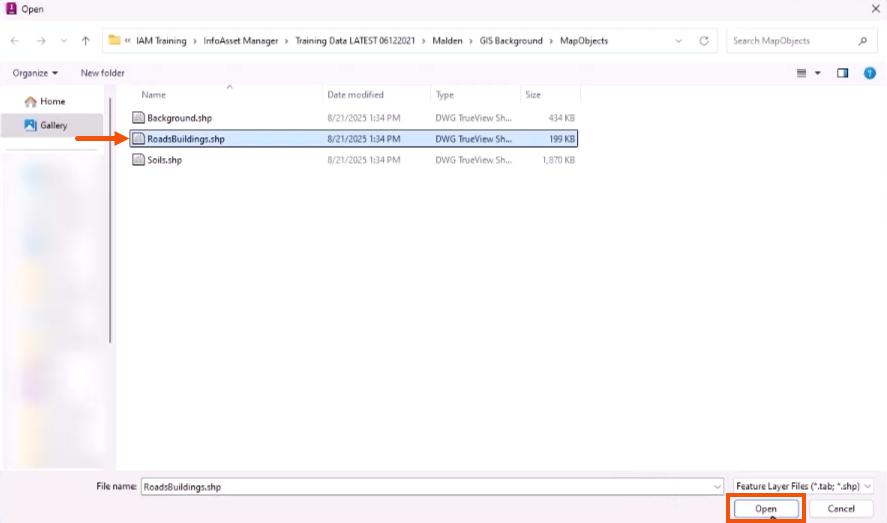
- In the Open dialog, navigate to and select a GIS layer to add.
- Click Open.
- Back in the GIS Layer Control dialog, click OK.
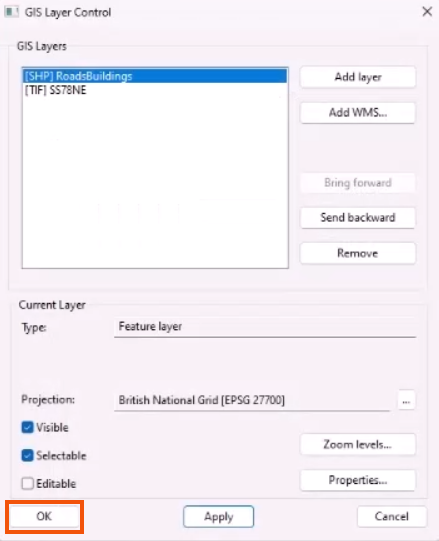
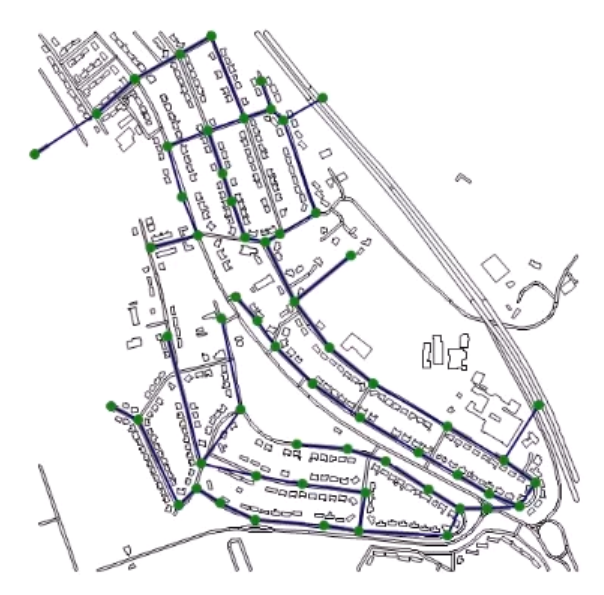
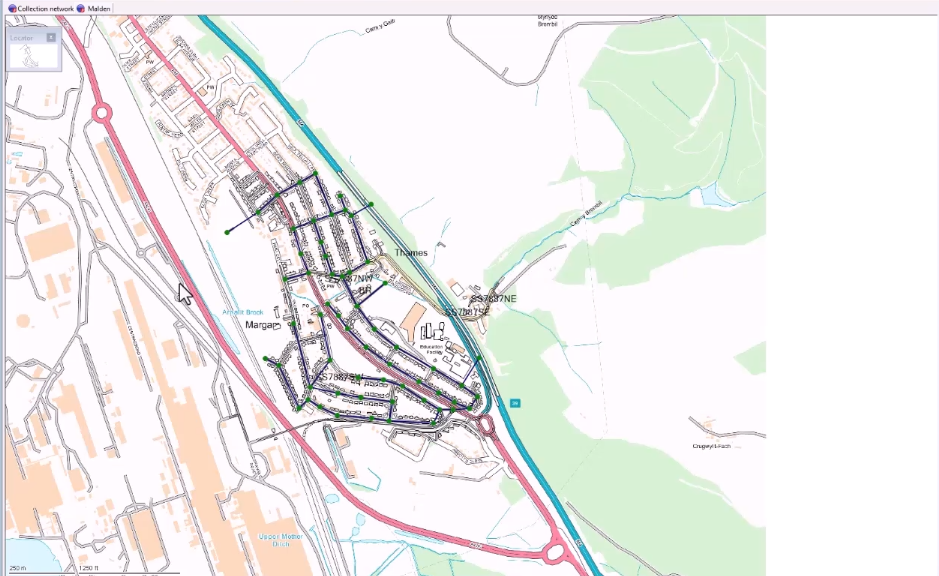
The layer now displays on the GeoPlan.
The default display properties of GIS layers might not be suitable when viewing asset objects. To customize how GIS layers are displayed:
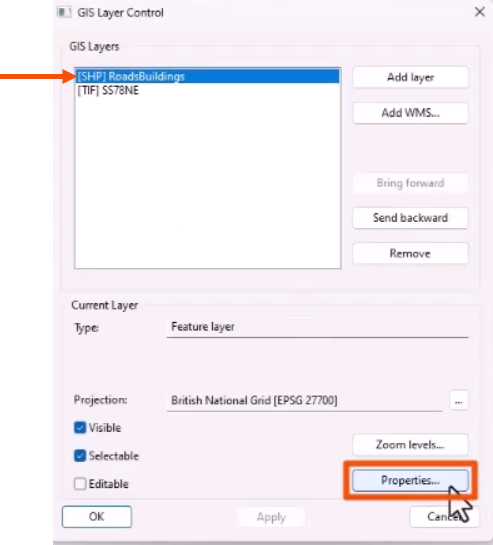
- Reopen the GIS Layer Control dialog.
- Select the layer that was just loaded.
- Click Properties to open the Layer Properties window.
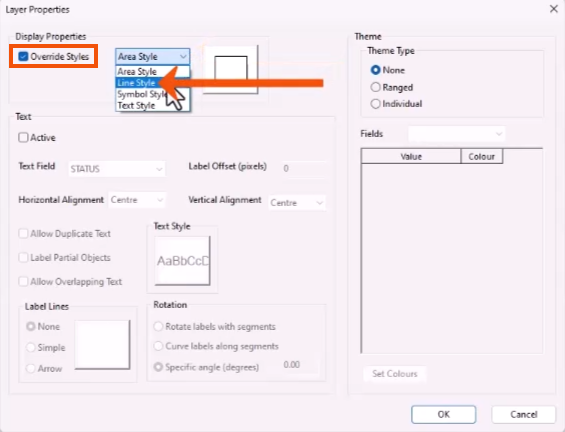
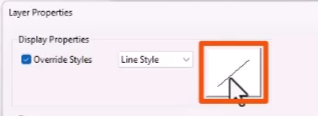
- In the Layer Properties window, Display Properties group, select Override Styles.
The properties available for editing will depend on the type of objects in the layer. Colors, patterns, line widths, symbols, and symbol sizes can be edited.
- For this example, from the drop-down, select Line Style.
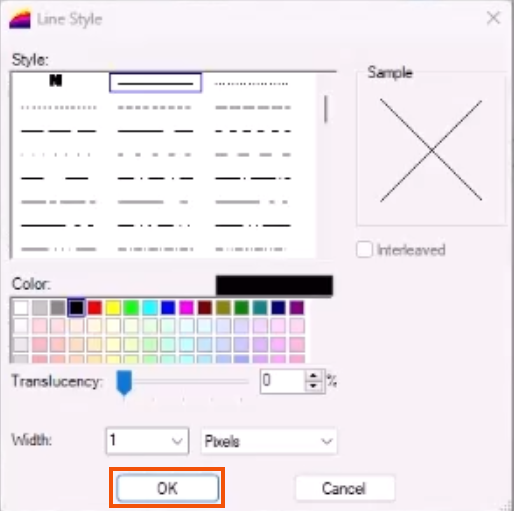
- Click the Preview icon to open the Line Style dialog.
- In the Line Style dialog, set the style, color, translucency, and width of lines in the GIS layer as needed.
- Click OK.
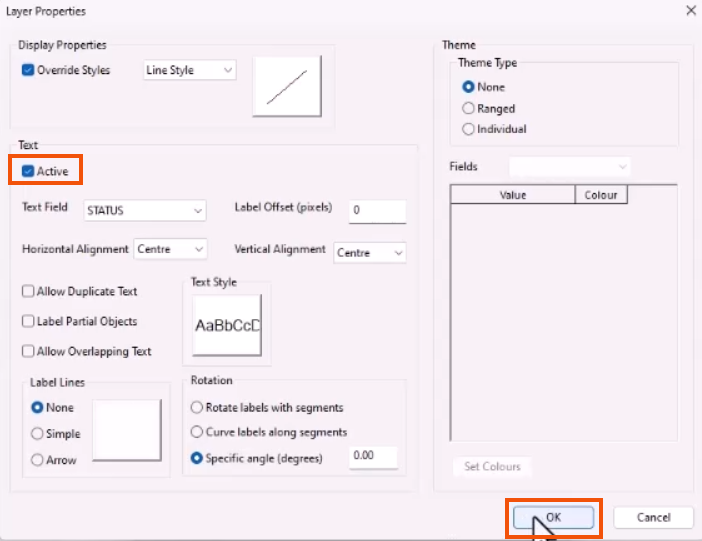
The appearance of text associated with layer objects can also be edited.
- Select Active in the Layer Properties window to explore some of the text options.
- Click OK.
There is also an option to set the scale range when a layer is displayed.
- Back in the GIS Layer Control dialog, click Zoom levels.
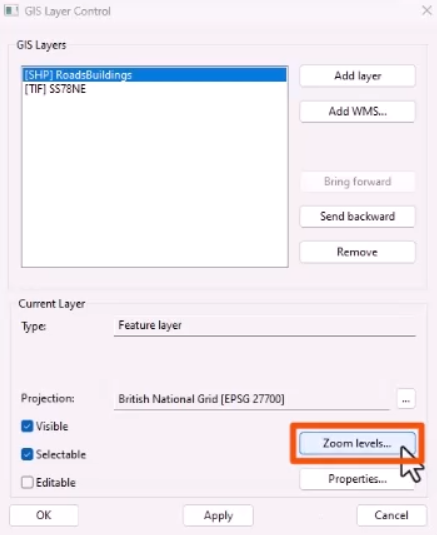
- Select Show layer between these zoom levels.
- Enter Min Zoom and Max Zoom values between which the layer will be displayed.
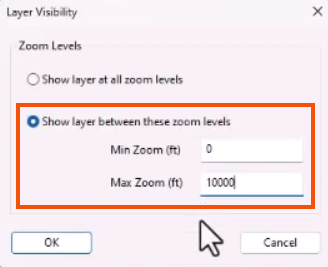
- Click OK twice to return to the GeoPlan.
Once the GIS layer or a combination of layers is set up, they can be saved as a Layer list object. Layer lists provide a way of saving a set of GIS layers as an object in the database, so that they can be easily and quickly reloaded with different versions of the network.
For example, a set of stock layers can be created with general information about the entire area covered by the modeling work of an organization. These layers can then be loaded with every model.
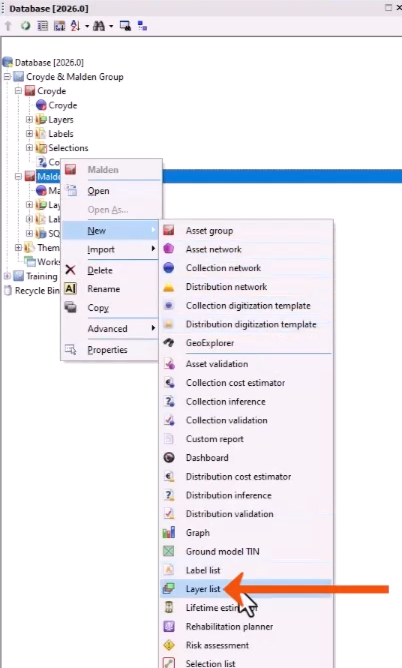
To create a layer list:
- Open one or more GIS layers on the GeoPlan.
- From the Explorer window, right-click the Asset Group and select New > Layer list.
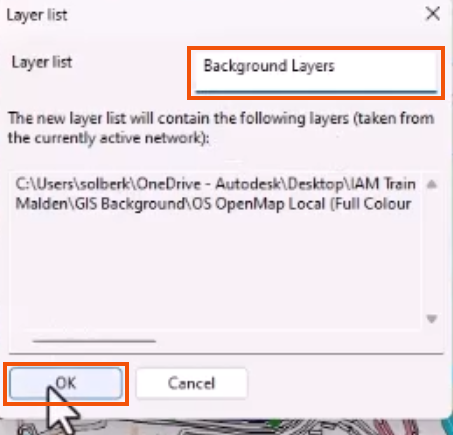
- In the Layer List dialog, add a name for the layer list, such as “Background Layers”.
- Click OK.
- To load the layer list, simply drag it from the Explorer onto the GeoPlan.
- Or, press CTRL while dragging to add the layer list to any layers currently displayed on the GeoPlan.
Note that layer lists only store the path and filename to the file containing the map layer. If the files are moved from the location specified, they cannot be reloaded.
As a tip, create a blank layer list with no GIS layers. When applied to the GeoPlan, this is a quick shortcut to turn off all background GIS layers.


