Create and apply custom labels in InfoAsset Manager
Step-by-step guide
In InfoAsset Manager, custom labels can be configured to contain network object parameters, user defined text, and field values. They can be set for individual objects on the GeoPlan, as needed.
To set up a custom label:
- Right-click the GeoPlan and select Properties & Themes.
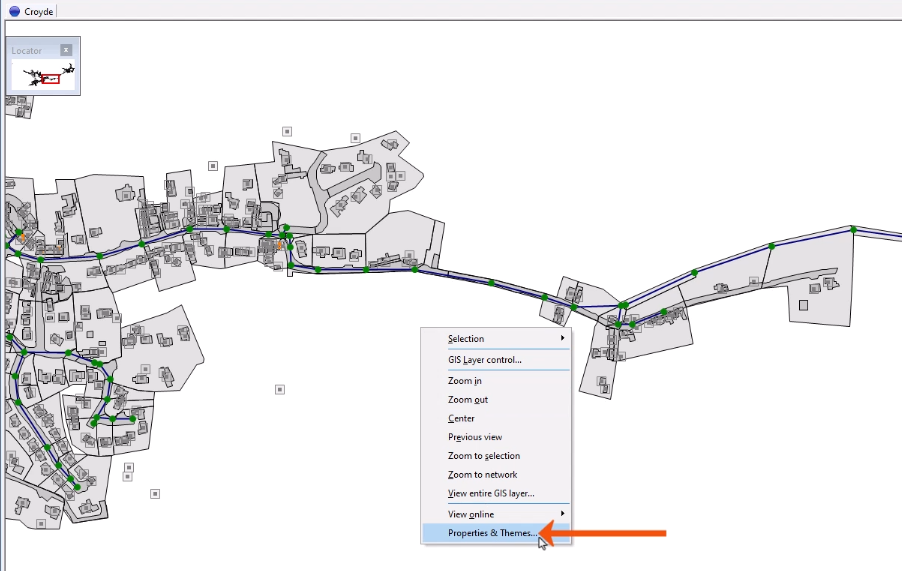
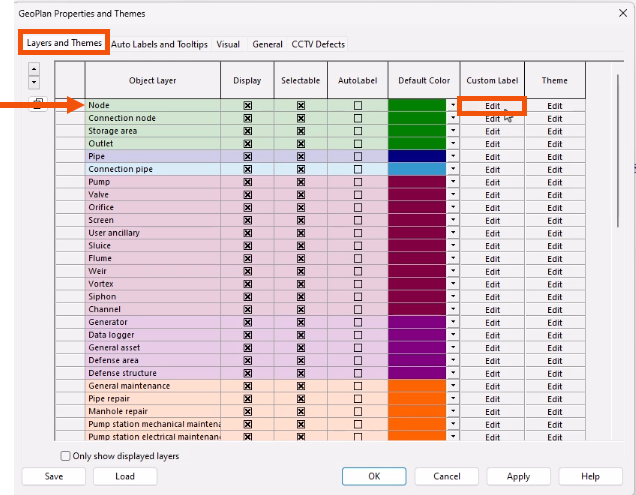
This opens the Properties and Themes dialog.
- On the Layers and Themes tab, in the Custom Label column, click Edit to set up labels for the corresponding network object type—in this case, for Node objects.
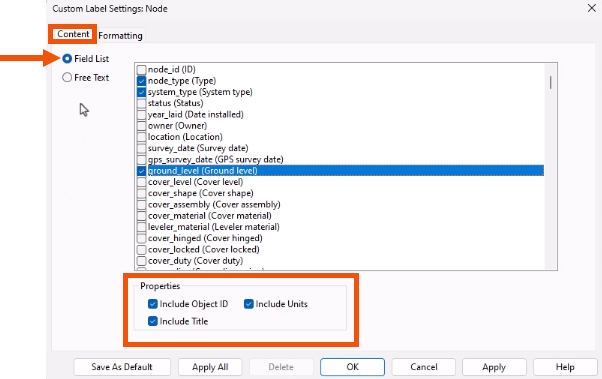
- In the Custom Label Settings dialog, select the Content tab.
- Select Field List.
- In the list box, select the fields to display on the label, such as node_type, system_type, and ground_level.
- For this example, in the Properties group, leave all options selected.
To customize the display of the labels:
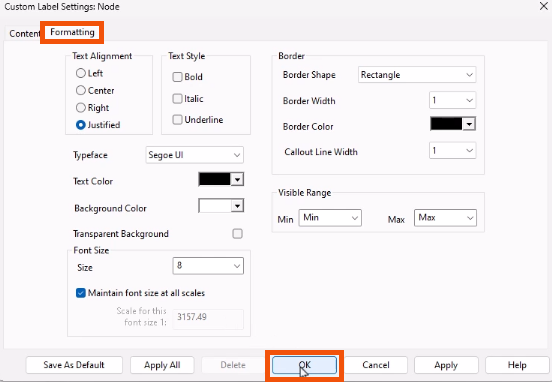
- Select the Formatting tab.
- Adjust settings such as text alignment, border, font type, and font size as needed.
- Click OK.
- Back in the GeoPlan Properties and Themes dialog, click OK.
Now, add a custom label to a node.
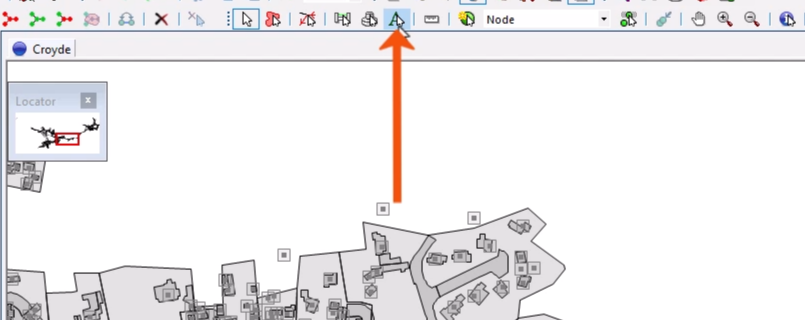
- To activate the label tool, in the GeoPlan Tools toolbar, click Custom label.
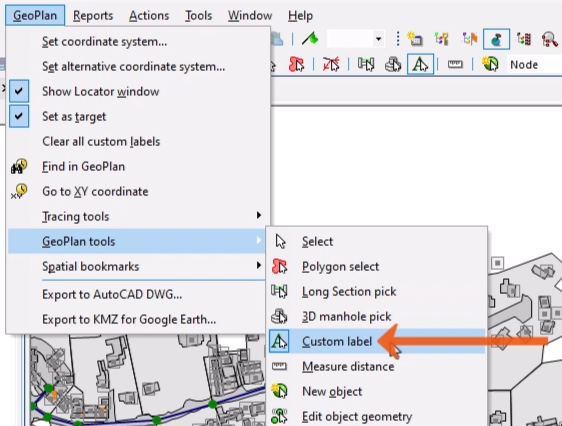
- Alternatively, from the GeoPlan menu, select GeoPlan tools > Custom label.
- On the GeoPlan, select the node.
- If more than one object is under the cursor, in the Multiple Selection dialog, select the correct object.
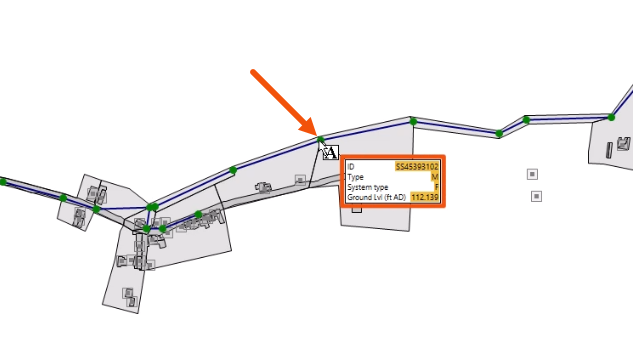
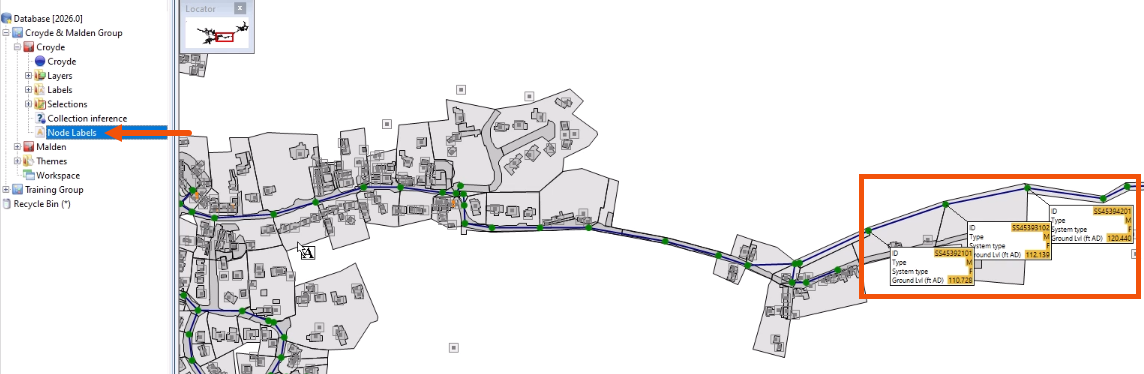
A custom label is added to the node.
Note that only one custom label can be attached per network object.
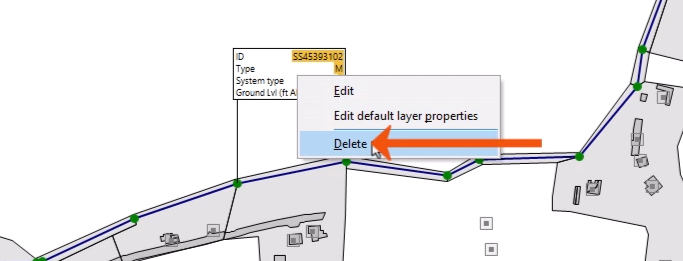
By default, a label contains only the object ID. However, in this example, the custom label contains the fields added previously in the Field list box.
- Click and drag the label to move its position if needed.
- To remove a custom label, on the GeoPlan, right-click the label and select Delete.
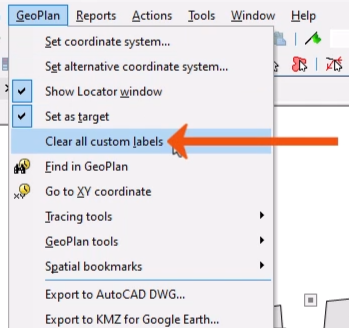
- To clear all custom labels, from the GeoPlan menu, select Clear all custom labels.
The current set of custom labels on the GeoPlan can be saved as a label list. This enables the same labels, with the same data and positions, to be easily reloaded.
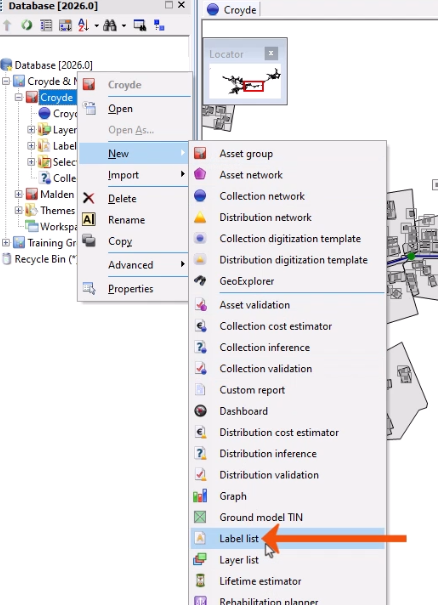
- In the Explorer window, right-click an Asset Group and select New > Label list.
- In the New Name dialog, add a Name, such as “Node Labels”.

- Click OK.
The current label setup is automatically saved in the new list.
- To apply the label list to the network, drag it from the Explorer and drop it onto the GeoPlan.