Customize auto labels and tooltips in InfoAsset Manager
Step-by-step guide
In InfoAsset Manager, the display of labels and tooltips can be changed for network objects on the GeoPlan. Labels can be used to display a network identifier or the value of the parameter in the active theme. Tooltips can display useful information when the pointer is placed over an object on the GeoPlan.
To enable and customize labels and tooltips:
- Right-click the GeoPlan and select Properties & Themes.
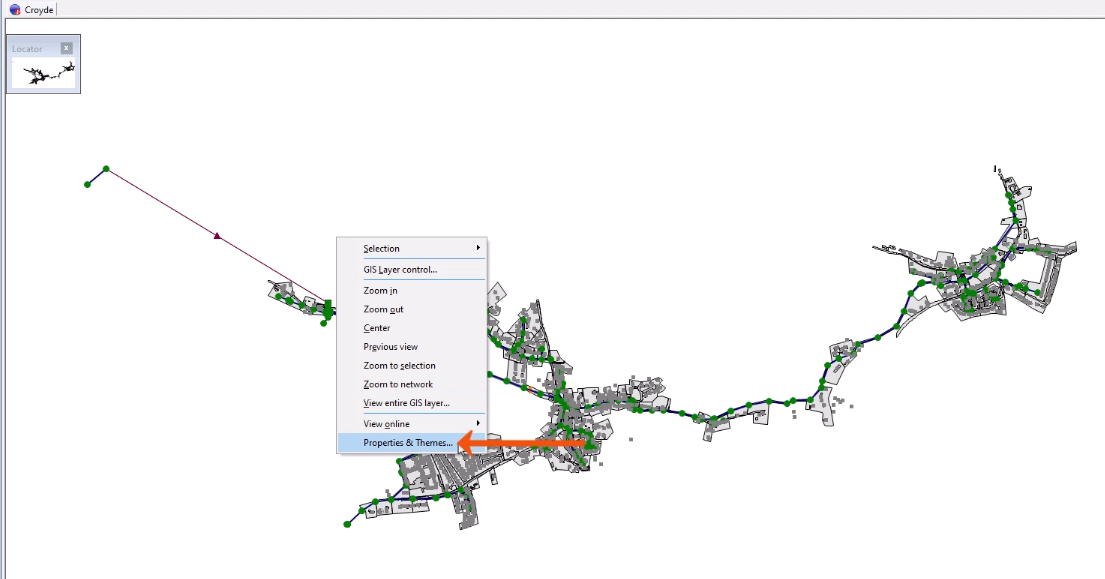
This opens the GeoPlan Properties and Themes dialog.
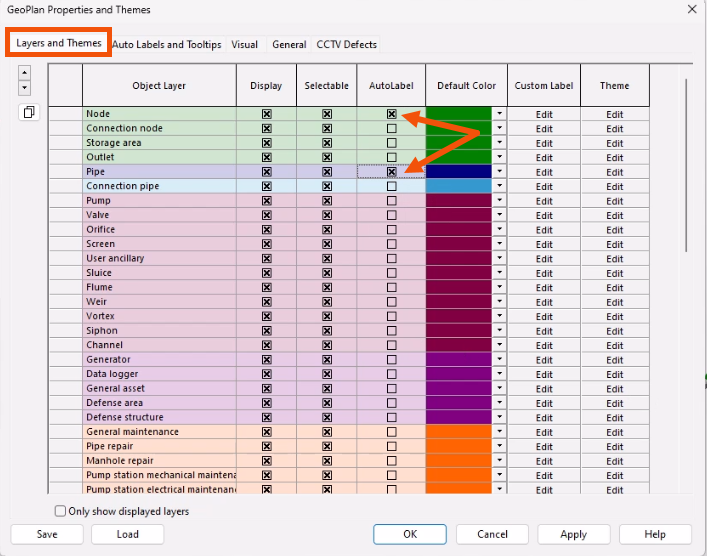
- On the Layers and Themes tab, click in the AutoLabel column to enable the display of auto labels for specific object types, such as Node and Pipe objects.
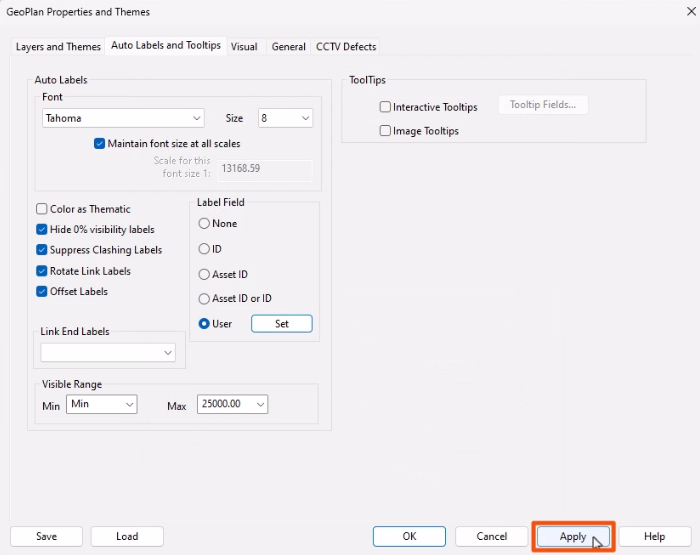
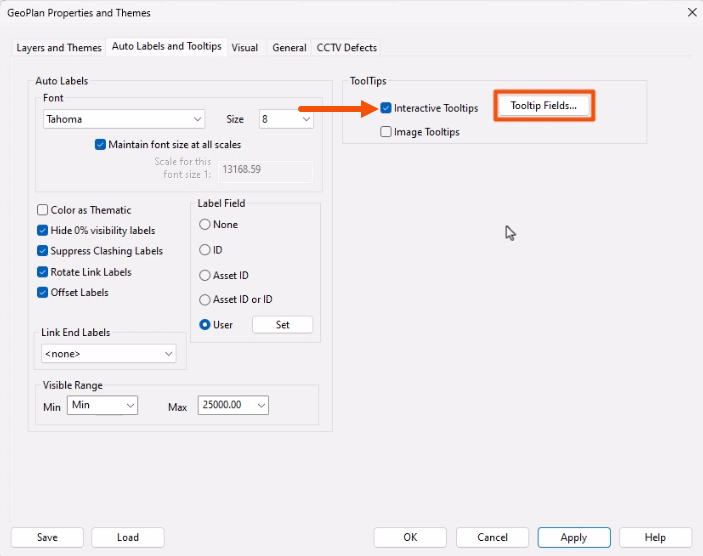
- Select the Auto Labels and Tooltips tab to review the options for adjusting the font and size for labels, as well as other display settings.
- To align link labels along the line of the link, enable Rotate Link Labels.
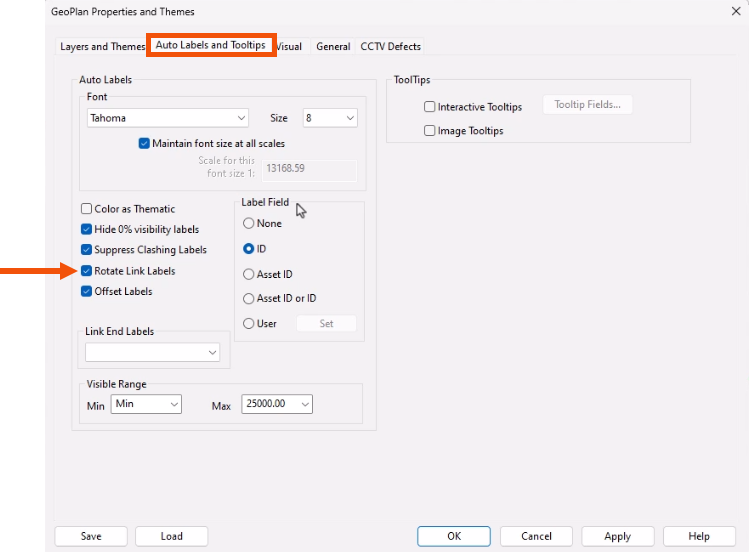
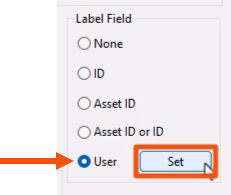
The Label Field options can be used to select the ID field that will be displayed in the Auto Label.
To customize label fields:
- Select User.
- Click Set to define the label text.
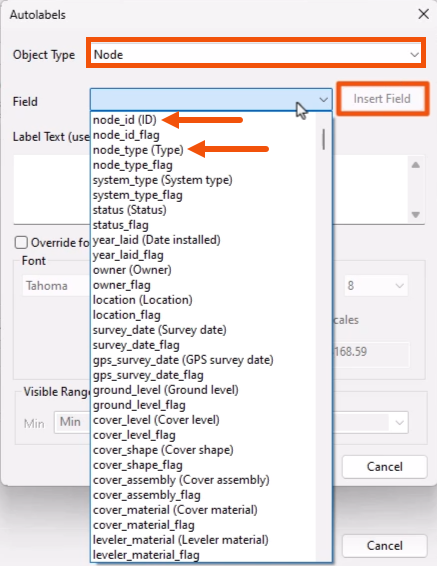
- For this example, in the Autolabels dialog, set the Object Type to Node.
- In the Field drop-down, select the fields to display for nodes, such as node_ID (ID) and node_type (Type).
- Click Insert Field after each selection.
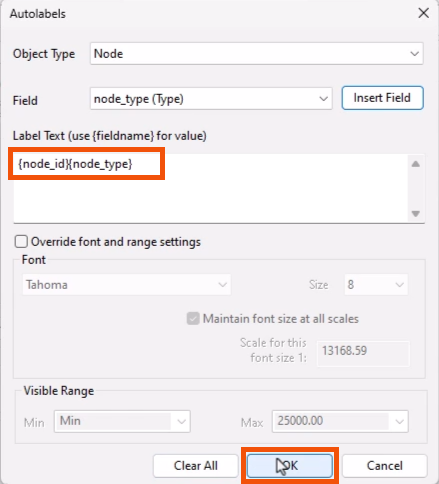
The Label Text box is automatically filled in with the selected fields.
- Click OK.
- Back in the GeoPlan Layers and Themes dialog, click Apply.
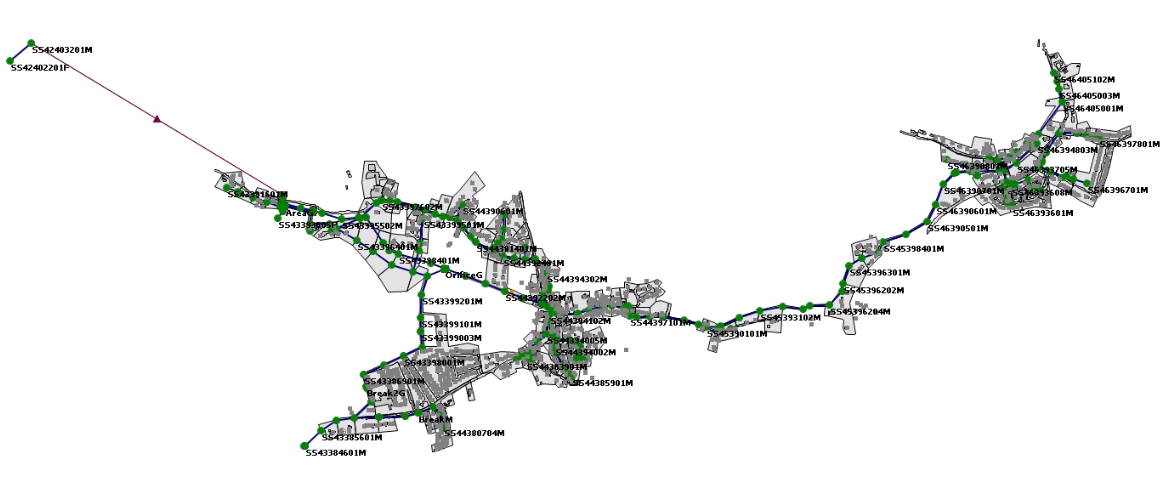
- In the GeoPlan, review how the changes are applied to nodes.
To give tooltips tree-control buttons, which allow the list of items under the pointer to be expanded:
- Back in the GeoPlan Properties and Themes dialog, on the Auto Labels and Tooltips tab, enable Interactive Tooltips.
- Click Tooltip Fields.
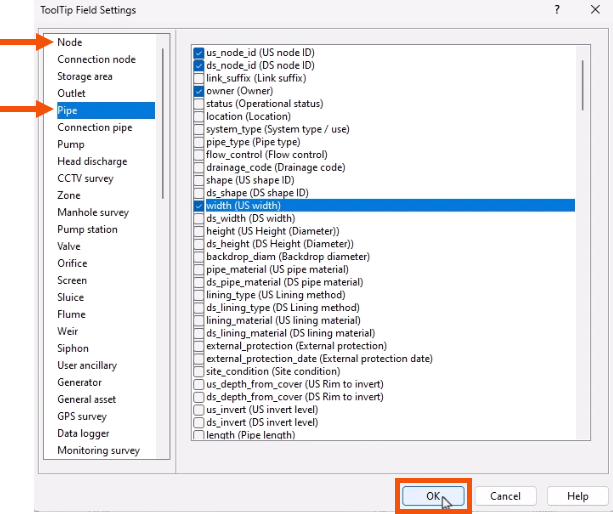
- In the Field Settings dialog, select the network object fields to be displayed in tooltips. In this case, add several fields to the Node and Pipe objects.
- Click OK.
- Back in the Properties and Themes dialog, click Apply.
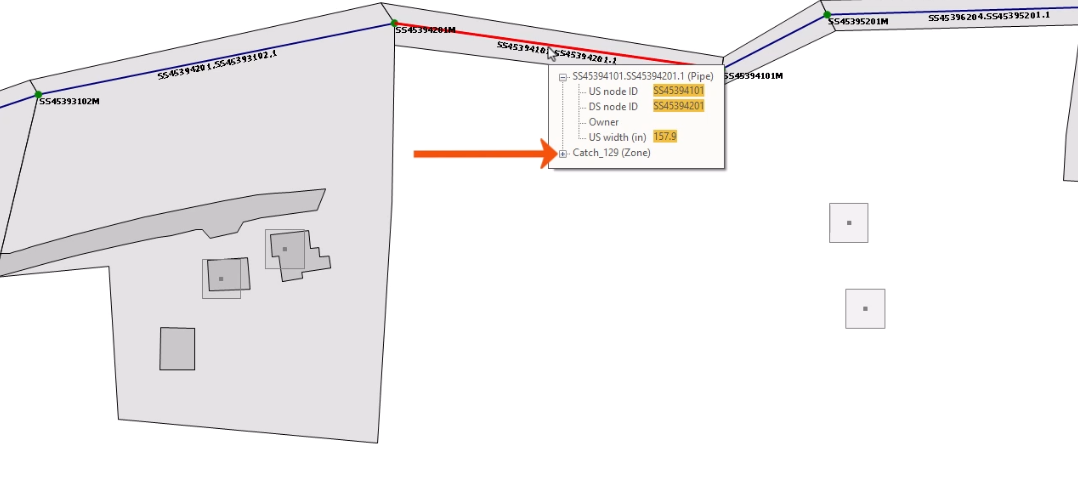
To use an interactive tooltip:
- On the GeoPlan, hover the pointer over a pipe or node.
- In the tooltip, click the plus sign (+) in front of a group to display more information, based on the fields selected.
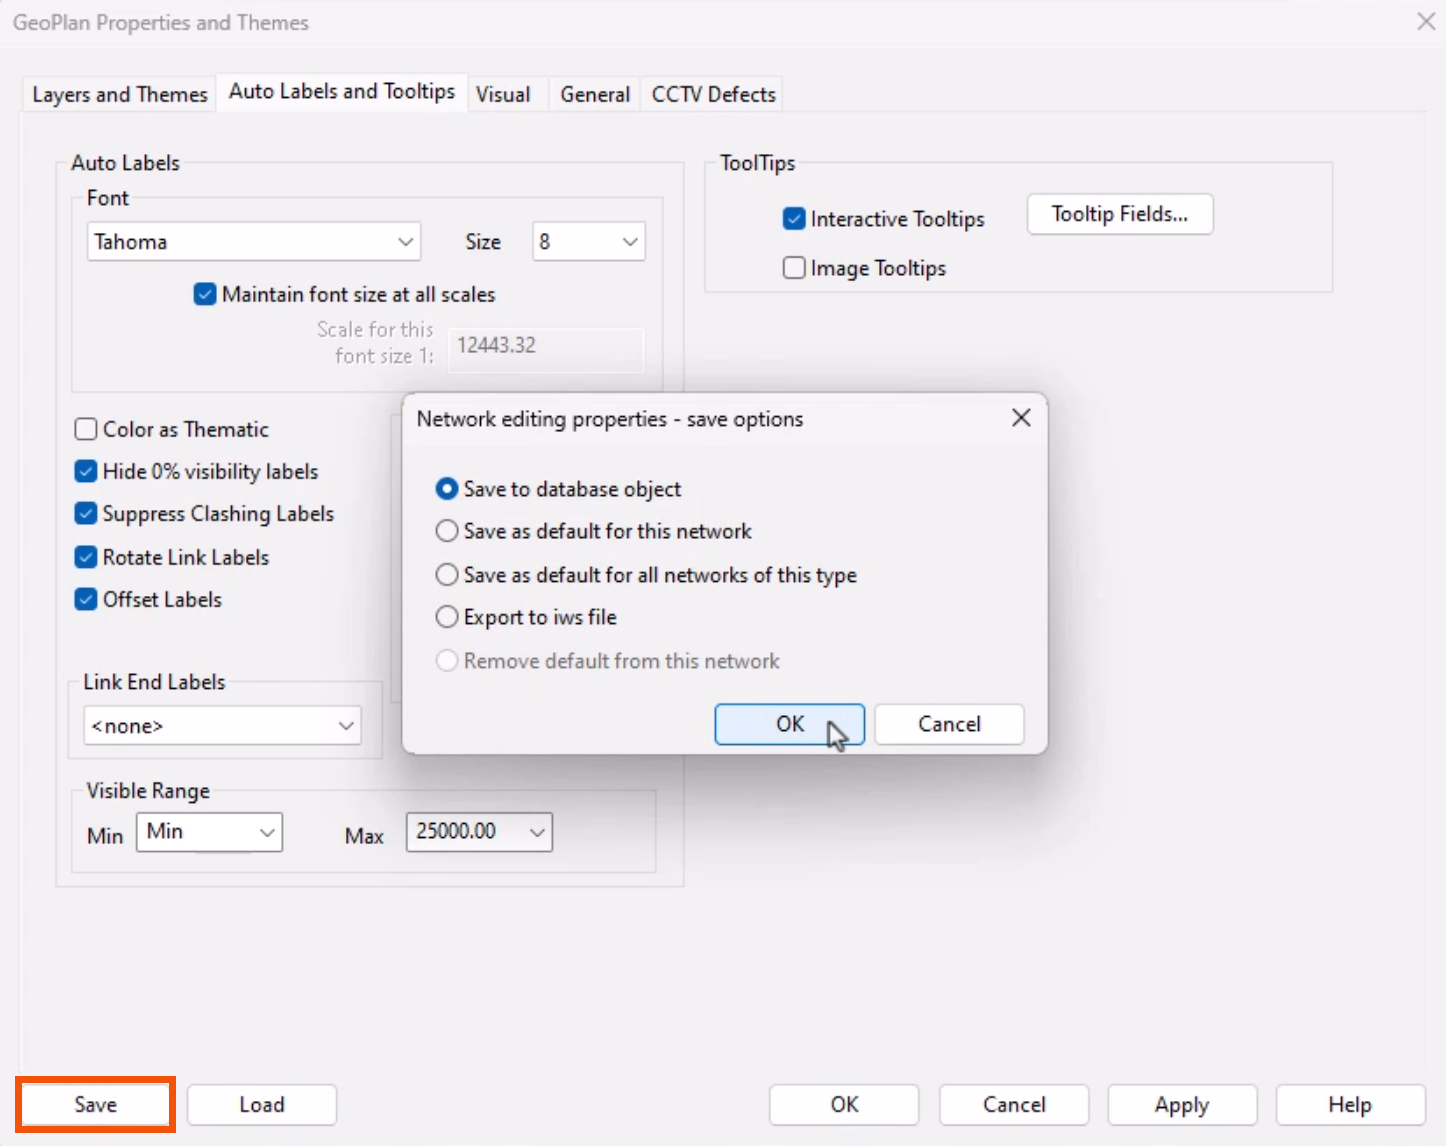
Auto label and tooltip settings can be saved as a theme for easy access and re-use.
- Reopen the Auto Labels and Tooltips tab.
- Click Save.
- Select the appropriate save option.
- Click OK.