Update from manhole surveys in InfoAsset Manager
Step-by-step guide
In InfoAsset Manager, a network can be updated or asset data created from surveys, such as manhole surveys, GPS surveys, and CCTV surveys.
InfoAsset Manager distinguishes between survey data and network object/asset data.
- Survey data is a record of a set of observations made on a specific date. It will have temporal and spatial elements.
- Asset data is the physical object as observed.
The relationship between asset data and survey data is one to many—there can be multiple surveys done and data recorded, but there will only ever be one asset.
Data from many surveys can be stored. Each survey is stored as a separate record in the survey grid table. When new survey data is imported, the assets can be updated to use the most recent data.
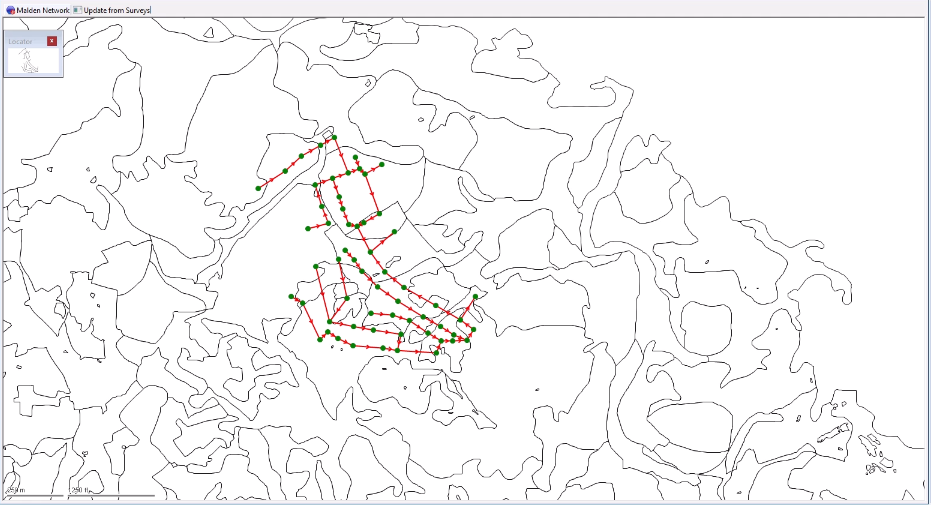
In this example, a network is open on the GeoPlan and previously imported manhole survey data will be used to generate asset objects.
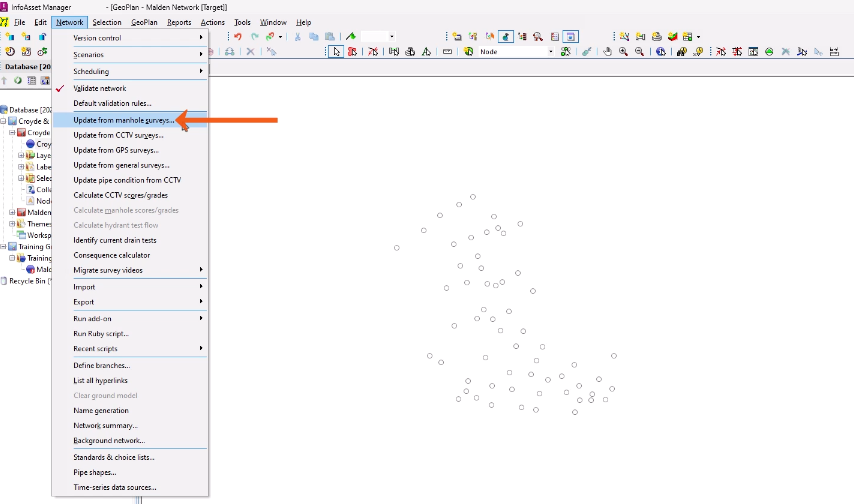
- From the Network menu, select Update from manhole surveys.
- In the Update Network from Survey Data dialog, select Copy flags from survey data.
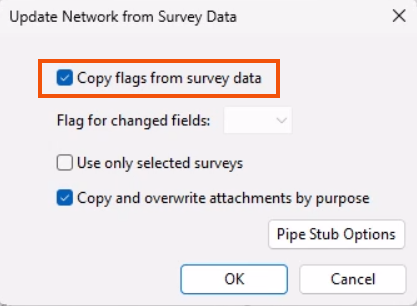
This imports flags stored from the survey data and helps to keep track of the source for each part of the asset information.
- Click OK.
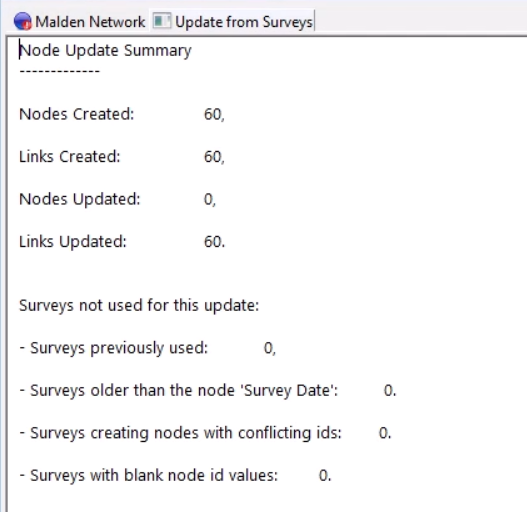
A summary displays with the number of nodes and links created or updated, and details of the surveys used.
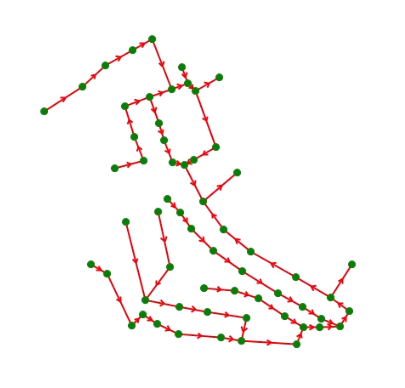
- Switch back to the GeoPlan to review the results.
In this example, 60 links and nodes are connected in a single network.
GIS background layers can be used to add context to the network with geographical information, such as roads and buildings, surveyed maps, or even aerial photographs.
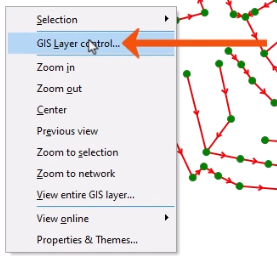
- Right-click the GeoPlan and select GIS Layer control.
- In the GIS Layer control dialog, click Add layer.
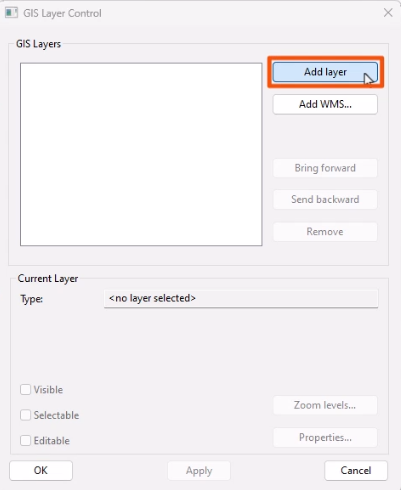
- In the Open dialog, select the files to be loaded.
- Click Open.

- Click OK to add the layers.

The background layers now display on the GeoPlan and can be saved as a Layer list for easy reloading with different versions of the network.