Commit a network in InfoAsset Manager
Step-by-step guide
When changes are made to a version-controlled database item, they are stored in your local copy of the network (in your local working folder directory). To make changes available to other users, they must be committed to the database. With the commit, changes are uploaded to the database and merged with the changes of other users as a new version.
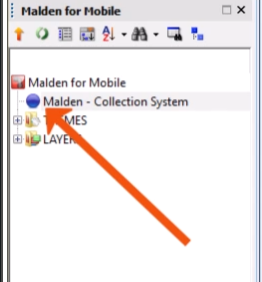
In the Explorer window, uncommitted changes in a network are indicated by a red circle icon with an exclamation point at the bottom of the network icon.

To commit changes:
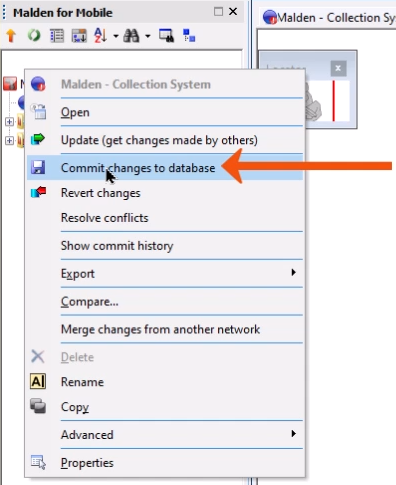
- In the Explorer window, right-click the network and select Commit changes to database.
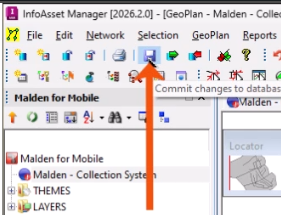
- Alternatively, on the File toolbar, click Save.
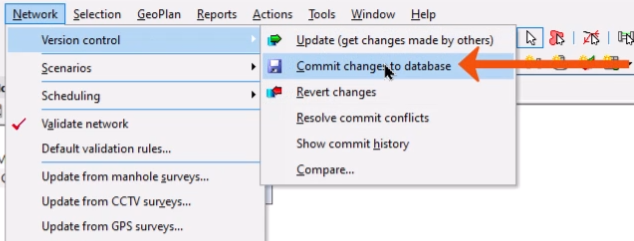
- Or, from the Network menu, select Version control > Commit changes to database.
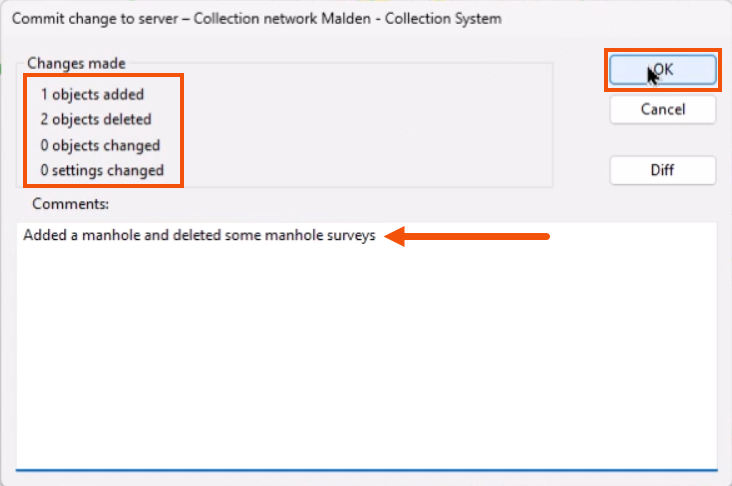
In the Commit change to server dialog, a summary displays the changes being committed.
- Add a comment about the changes, such as “Added a manhole and deleted some manhole surveys”.
- Click OK.
Now, the red exclamation point icon no longer appears on the network icon.
Each time a change to the network is committed, a new version of the network is created. The commit history records each version of the network, enabling objects to be viewed, compared, and copied, which is useful even when working independently.
To view the commit history:
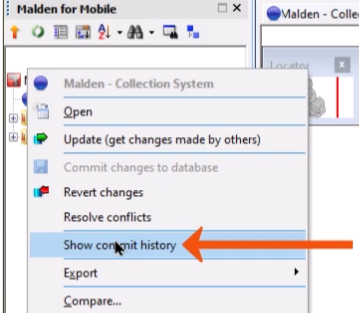
- In the Explorer window, right-click the network and select Show commit history.
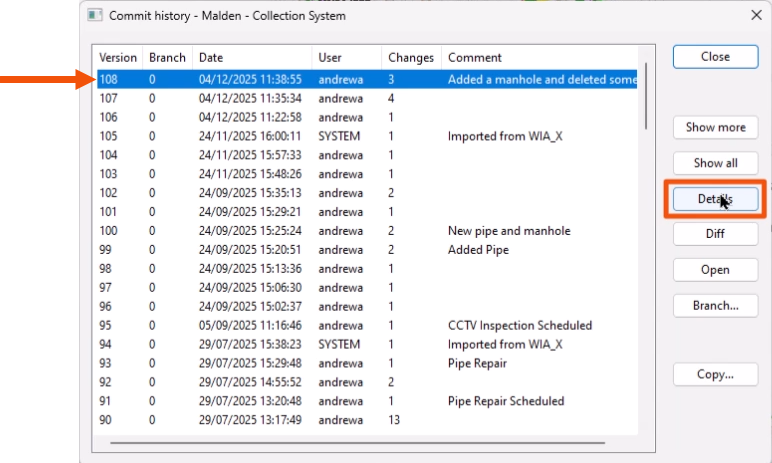
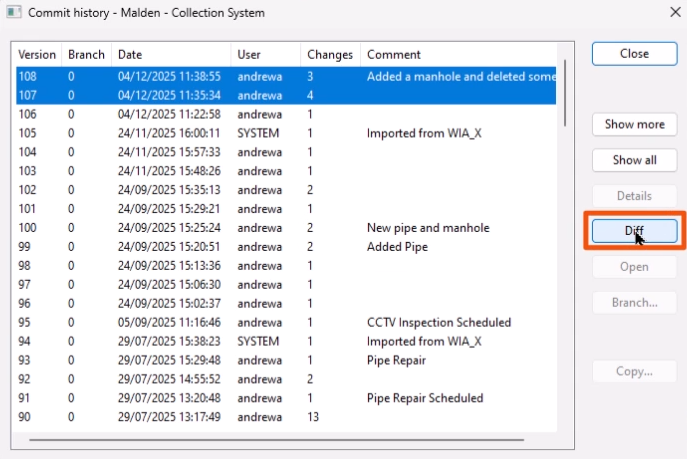
In the Commit history dialog, each commit has a corresponding version number, date, user, and number of changes made.
To view commit details:
- Select an available version.
- Click Details.
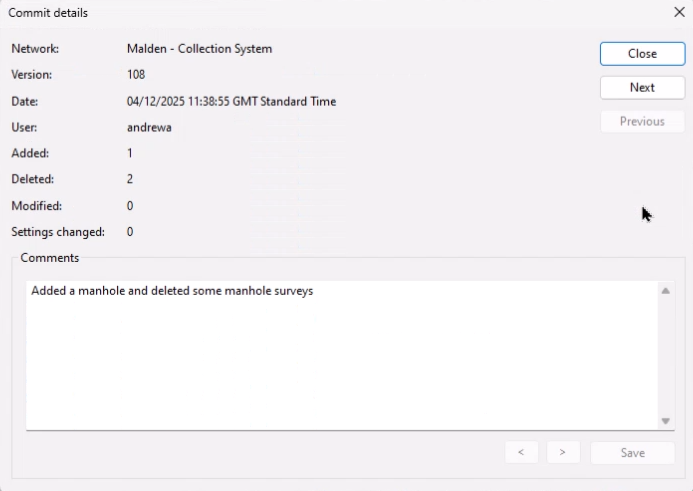
The Commit details dialog displays.
To compare the differences between two versions:
- In the Commit history dialog, press CTRL while selecting two versions.
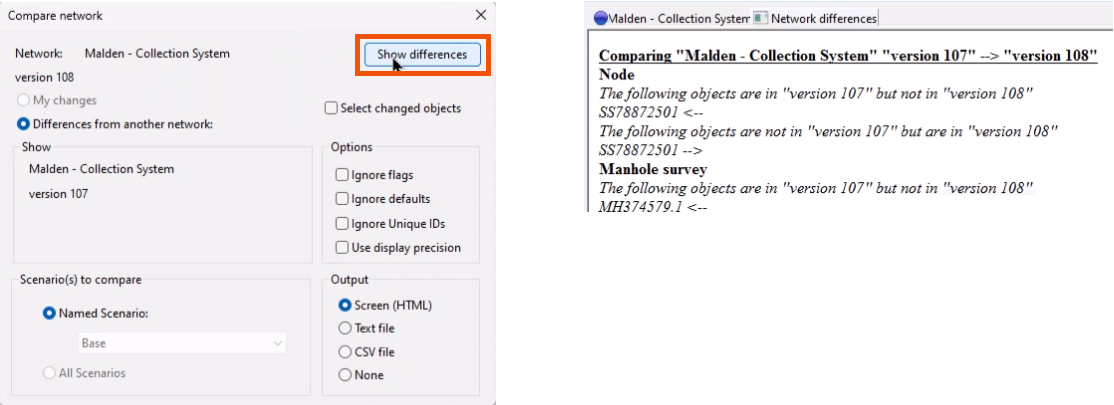
- Click Diff.
- In the Compare network dialog, select Show differences to view the Network differences window.
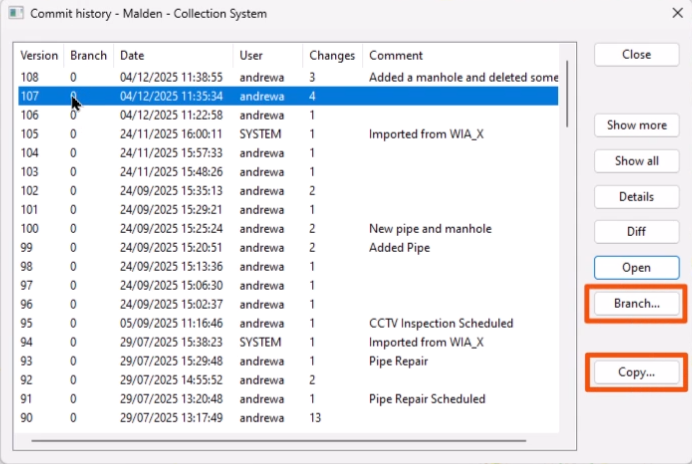
To revert to a previous version:
- From the Commit history dialog, use Branch or Copy.
- Branching a subnetwork from your existing model maintains the history between both networks.
- Copying starts a new network, which resets the history to version 1.
When multiple users are working on the same network at the same time, there may be a situation where the same asset is modified by two users, resulting in a conflict.
The conflict is discovered when a commit is initiated, or when a user selects Update (get changes made by others) from the context menu of the network.
- If conflicts are found, right-click the network and select Resolve conflicts.
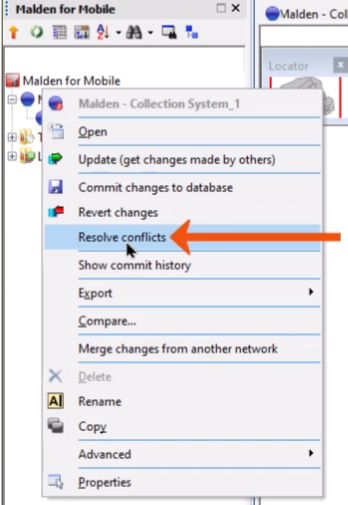
Best practice is to check with the other users involved before confirming the resolution.
To view the commit history of individual objects:
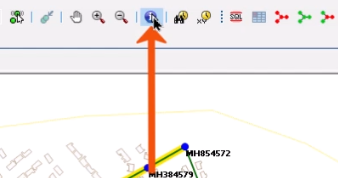
- In the GeoPlan toolbar, click Find in GeoPlan to locate a specific node.
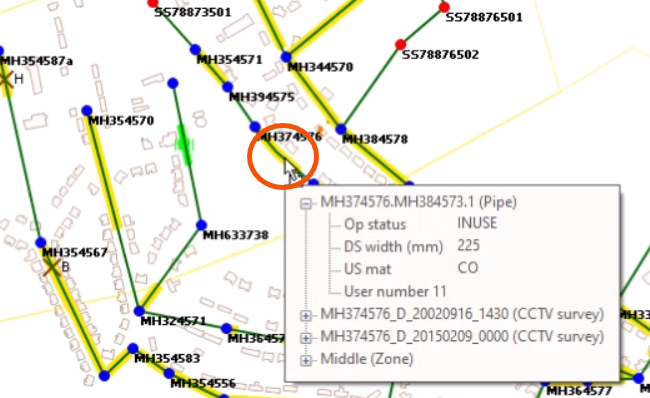
- In the GeoPlan, double-click the node to open the property sheet.
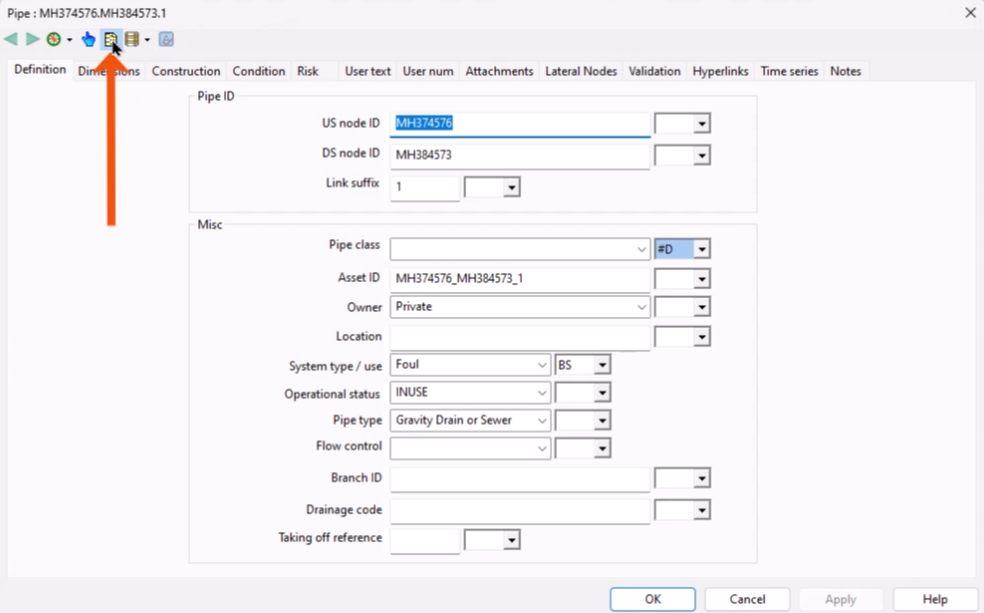
- In the property sheet toolbar, click Commit history.
- Select a version. For this example, select all versions.
- Click Details.
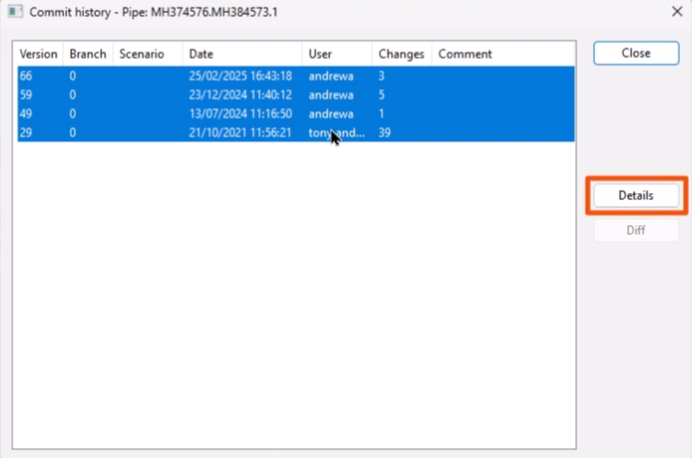
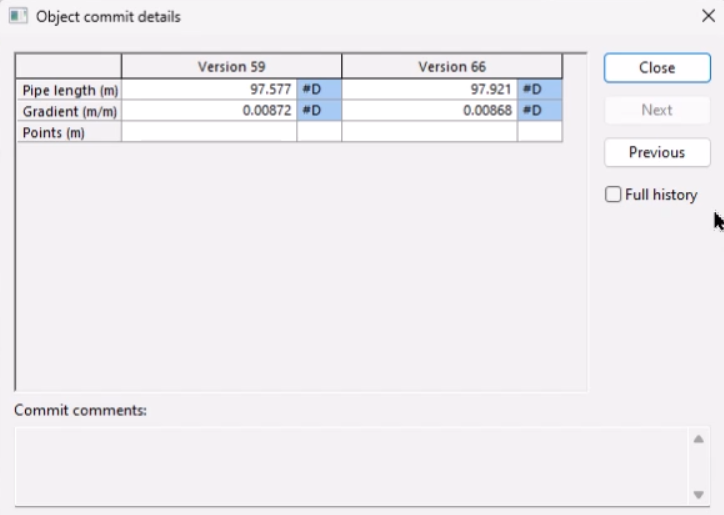
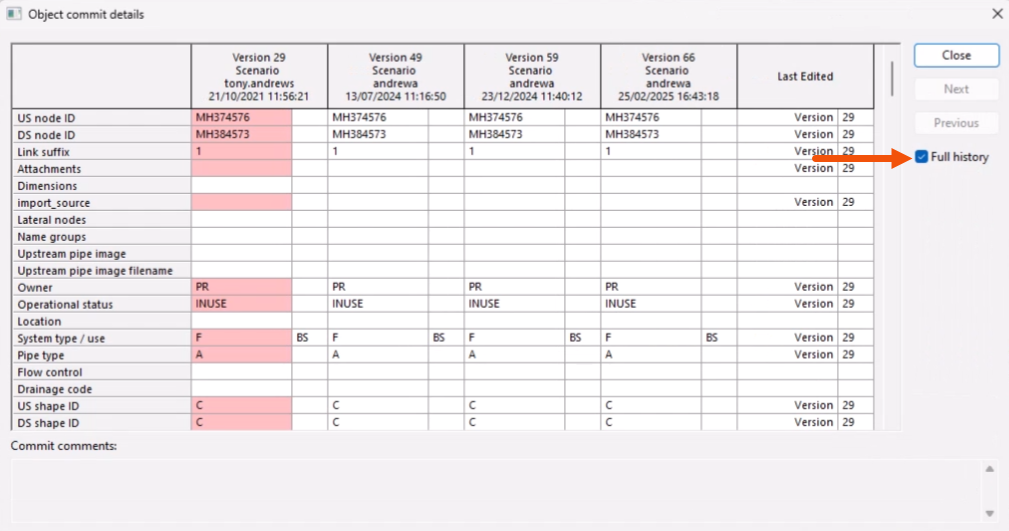
The Object commit details dialog displays information for the different object versions.
- Select Full history to display a color-coded table showing when each item was last edited.
Recent changes are highlighted in dark red.
Like the network history, to view the differences between two object versions:
- In the Commit history dialog, select the two versions.
- Click Diff to open the Object Comparison dialog.


