We’re here with our next Fusion Community Spotlight. A series where we celebrate the makers, builders, and dreamers using Autodesk Fusion to bring their ideas to life.

Meet John Saunders. John is the founder of Saunders Machine Works and well-known for his NYC CNC YouTube channel. With extensive experience and as an Autodesk Expert Elite member, John provides valuable insights to make your machining processes more efficient and productive. Here are five key strategies, straight from John’s playbook to help you speed up your CAM cycle times in Fusion.
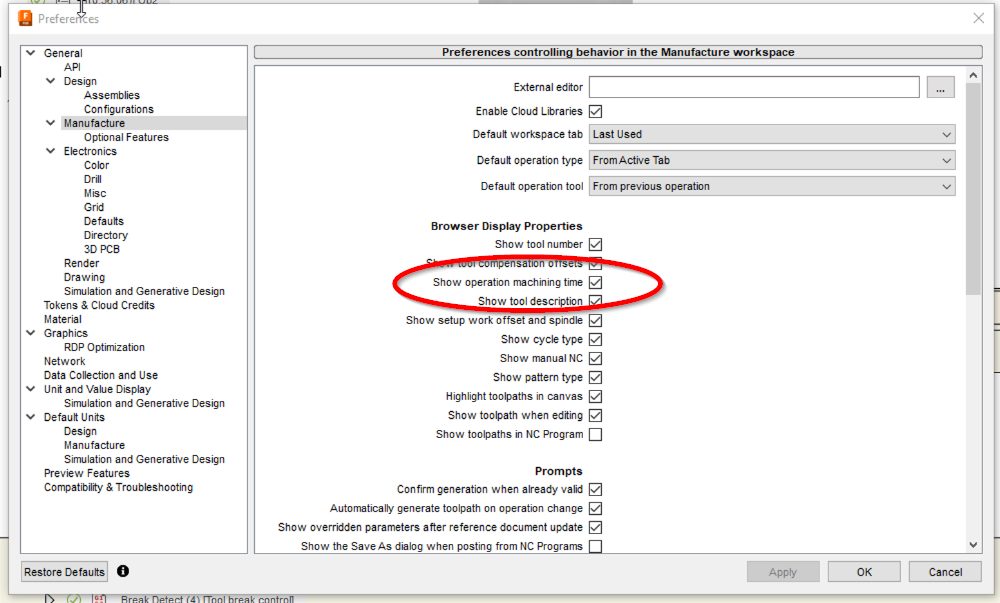
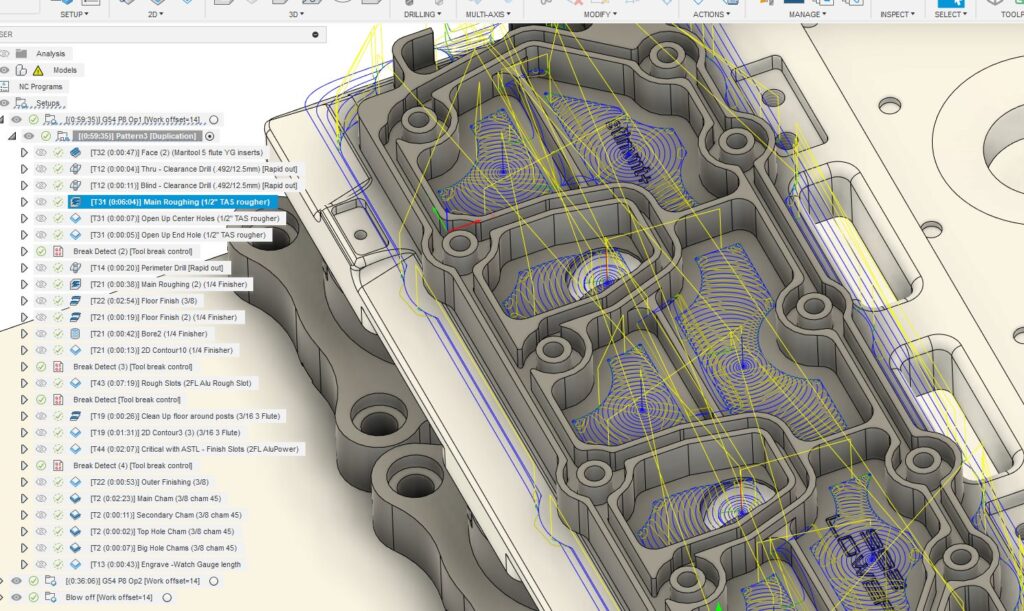
1. Turn on ‘Show Operation Machining Time’
In your Fusion Manufacturer Preferences, always enable Show Operation Machining Time. This handy feature displays the estimated machining time not only for entire setups but also for individual CAM operations. It provides a clear picture of how changes in speeds, feeds, and other settings impact cycle time. While it’s generally accurate, its real value is in showing you the relative changes to what speeds and feeds and other CAM settings will do to improve or reduce CAM cycle times.
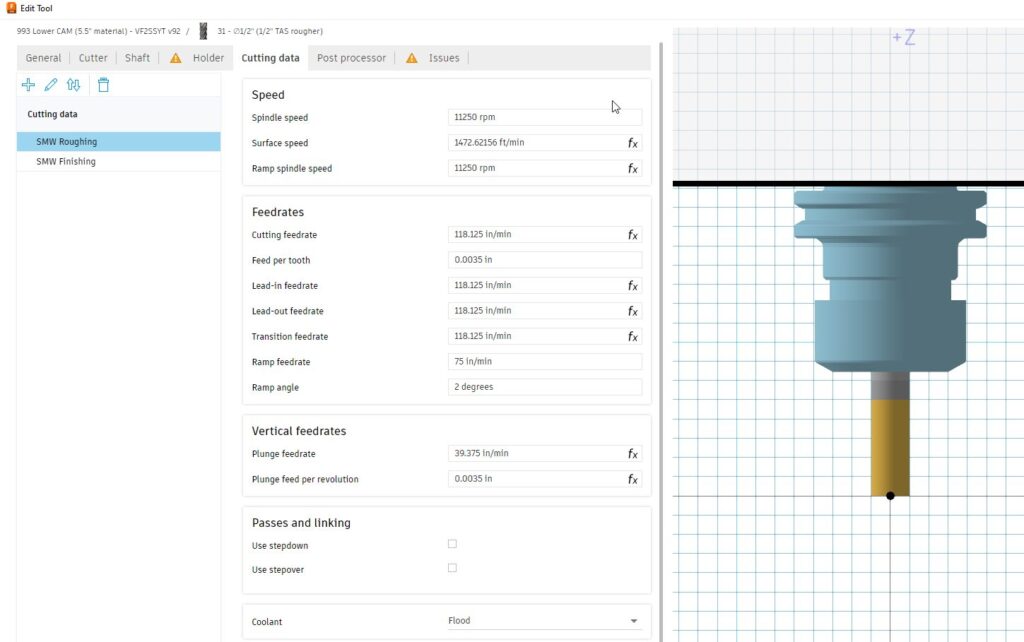
2. Use speeds & feeds presets
Make sure each CAM operation uses a preset for speeds and feeds, rather than manually setting them operation by operation. This approach gives you better ability to bulk edit all of your speeds and feeds for a particular cutting tool versus having to check each CAM operation. It saves time and reduces errors, helping you stay consistent and efficient.
3. Check ramp and plunge feed rates
On that note, check your plunge and feed rates. These are often way too slow, especially if the machine is doing a linking move in air. John recommends increasing these feed rates to the same speed as cutting or even higher where safe and applicable. This can result in tremendous time savings. Pro tip, this is especially applicable for chamfer operations, where the tool is generally plunging in air.
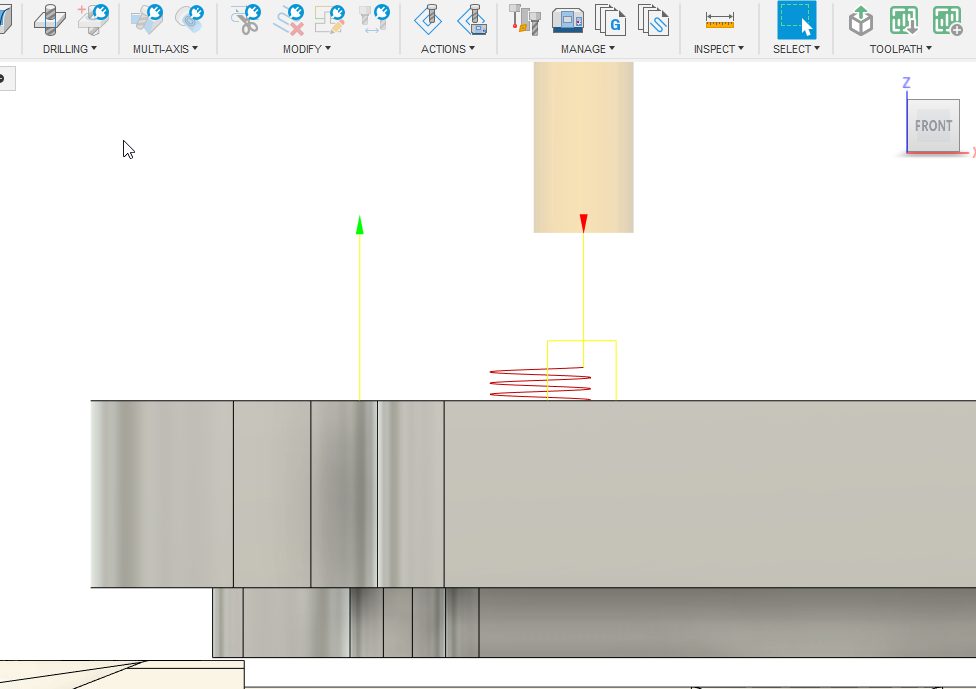
4. Reduce helical ramp clearance
This is one of John’s personal favorites! For 2D adaptive clearing operations, the default ramp clearance height is usually 0.1 inches above the top height, meaning the machine is slowly ramping through air for that distance. Reduce the ramp clearance height to minimize this slow air ramp and speed up the process. This simple tweak can save valuable machining time while maintaining tool safety.
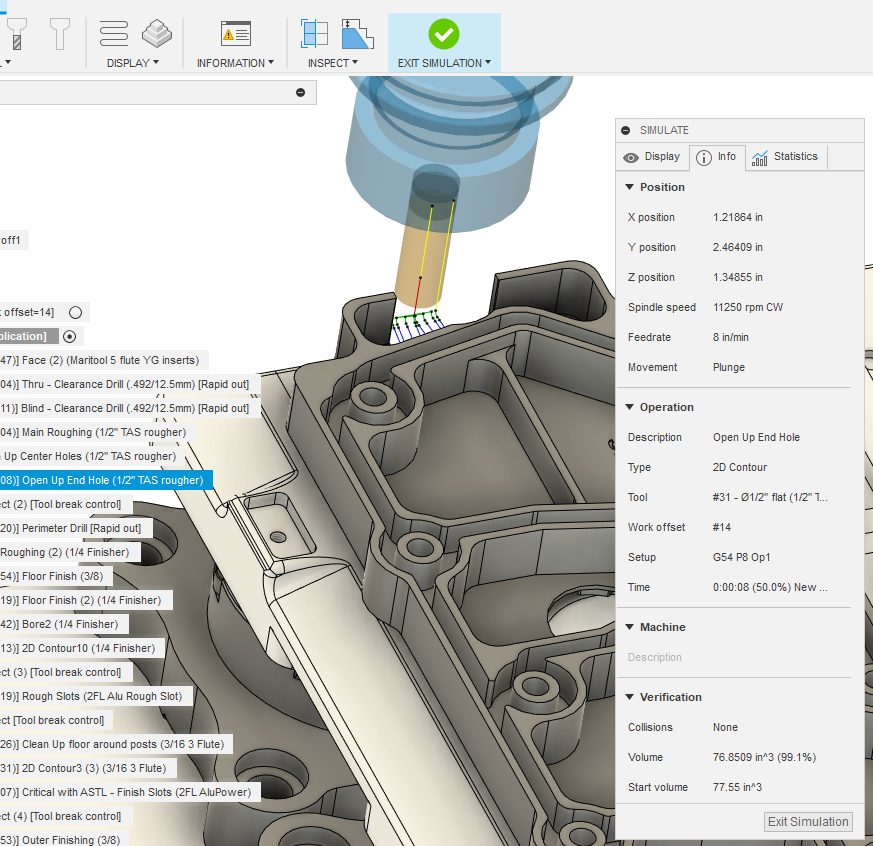
5. Pre-drill pockets
Where feasible, pre-drill pockets or slots, especially if the part features existing holes that need drilling. Pre-drilling helps an end mill enter straight into a pocket or aids chip evacuation when doing helical ramps into blind pockets. This strategy can drastically reduce plunge time and prevent tool wear, leading to faster and cleaner machining.
And there you have it folks, five tips from Fusion expert, John Saunders. Put these practices into play and check out his YouTube channel, NYC CNC for even more helpful hints to unlock even more efficiency gains and get more done on the shop floor every day.
Stay tuned for more voices, more projects, and more of the everyday brilliance that keeps our Fusion community thriving.