This post is also available in:
Creating precise dimensions in sketches in Fusion is fundamental to building accurate and parametric 3D models. This guide will give you a complete walkthrough of dimensioning in Fusion sketches.
Elevate your design and manufacturing processes with Autodesk Fusion
Dimensions in sketches in Fusion
Dimensioning is the process of defining the size and position of sketch geometry, including lines, points, arcs, and circles using numerical values. This makes your designs parametric, meaning you can edit dimensions anytime to adapt your model dynamically.
How to activate the sketch dimension tool
- Open or create a new sketch in Fusion.
- From the sketch toolbar, go to Create > Sketch Dimension.
- Keyboard shortcut: Press the letter D on your keyboard to activate the dimension tool immediately.
- Alternatively, right-click in the sketch area and select Sketch Dimension from the menu.
Adding dimensions in sketches in Fusion
- Select geometry: Click on the sketch entity (line, arc, circle, point) you want to dimension.
- Place the dimension: Move your mouse to position the dimension text and click again to place it.
- Input dimension value: mEnter the desired numerical value and press Enter. The sketch updates accordingly.
- Dimension between two points or entities
- Click on the first point or edge.
- Click on the second point or edge.
- Drag the dimension line to the preferred orientation (horizontal, vertical, angled).
- Click to place and input the value.
Types of dimensions in sketches in Fusion you can create
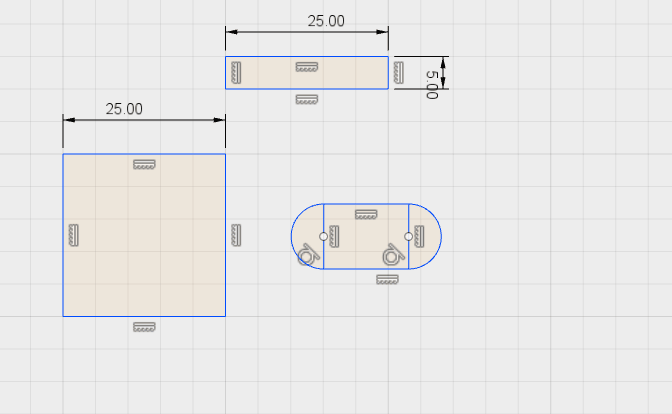
- Linear dimensions: Distance between two points or length of a line.
- Angular dimensions: Angle between two intersecting lines.
- Radius/Diameter: For arcs and circles; right-click dimensions to toggle between radius and diameter.
- Driven dimensions: Reference-only dimensions that do not drive geometry changes but update dynamically.
Tips and tricks for effective dimensioning
- Constraints first: Apply sketch constraints (equal, vertical, horizontal) before dimensioning to minimize the number of necessary dimensions.
- Modify dimensions anytime: Double-click any dimension text to change its value.
- Hide/Show dimensions: Use the Sketch palette checkbox to toggle visibility of dimensions for a cleaner workspace.
- Use equations in dimensions: Input mathematical expressions directly in the dimension field (e.g.,
[d1]/2to make a dimension half of another). - User darameters: Link dimensions to user-defined parameters for dynamic and reusable designs.
- Rename dimensions: In the parameters dialog, rename dimensions for easier identification and referencing.
Common workflows using sketch dimensions
- Dimensioning lines for precise profiles.
- Ensuring symmetry by dimensioning distances equally.
- Controlling hole placements by dimensioning center points.
- Adjusting arcs and circles with radius or diameter constraints.
- Defining angles for chamfers or angular features.
Summary table of key actions
| Action | Description | Shortcut/Location |
|---|---|---|
| Activate dimension tool | Start dimensioning | Press D / Create > Sketch Dimension |
| Add dimension to single entity | Dimension length, radius, or diameter | Click entity, place dimension |
| Dimension between two entities | Measure and set distance or angle between | Click two points, drag for orientation |
| Toggle radius/diameter | Switch radius to diameter or vice versa | Right-click dimension > Toggle Diameter/Radius |
| Create driven dimension | Reference-only dimension | Right-click before placing > Choose Driven |
| Edit dimension value | Change size or position dimension | Double-click dimension text |
| Show/hide dimensions | Clean workspace by toggling dimension visibility | Sketch palette checkbox |
| Use equations | Enter math expressions in dimension field | Type directly in dimension input |
Fully understanding dimensions in Fusion sketches allows you to create parametrically driven, adaptable designs with accuracy and flexibility. What are you waiting for? Get started today.