This post is also available in:
Learn how to manage timeline edits in Fusion. Discover how to fix geometry, move features, and balance parametric versus direct modeling for efficient, production-ready designs.
Elevate your design and manufacturing processes with Autodesk Fusion
If you’ve ever found yourself stuck in Fusion – after a combine operation, geometry change, or misplaced hole, you’re not alone. When projects get complex, it’s easy to feel trapped by previous steps in the modeling timeline. But here’s the good news: Fusion gives you flexibility to fix issues at any stage. You can make edits efficiently without undoing hours of design work or compromising your model.
Let’s explore some best practices for managing design changes, moving features, and managing timeline edits in Fusion.
Finding balance between parametric and direct edits
One of the first questions I often get is: “Should I go back in the timeline to fix something, or just edit it at the end?”
If your model was created parametrically with sketches and constraints, you can go back earlier in the timeline and modify those features. For example, if your holes were defined in a sketch or placed with the Hole command, adjusting their position is as simple as editing that original feature.
However, this isn’t always practical. As models grow, timelines can contain hundreds of features. Scrolling backwards to adjust one tiny detail can turn into a time-consuming hunt with potential ripple effects downstream. That’s where working at the end of the timeline becomes not only faster—but often smarter.
Why the end of the timeline matters
Think of the end of your timeline as your product’s “final definition”—what you’ll hand off to your CNC operator, your customer, or your production team. If your goal is to make a small geometric adjustment that doesn’t fundamentally alter upstream operations, go ahead and do it at the end.
Fusion can handle this level of flexibility. Want to move a hole or patch geometry? You can make those final tweaks directly without breaking the entire model history. The result: less rework, faster design refinement, and greater confidence that your “shippable” model is accurate and ready for manufacturing.
Two practical ways to fix a hole location
Option 1: Delete and recreate
Fusion makes it easy to delete specific faces, like cylindrical holes.
- Simply select the cylindrical face and press Delete.
- Create a new sketch with a new hole point and dimension it precisely where you want it.
- Finish the sketch, use the Hole command, and redefine its size, depth, or thread type.
This method works especially well when the original geometry is beyond simple edits or if the hole wasn’t created parametrically.
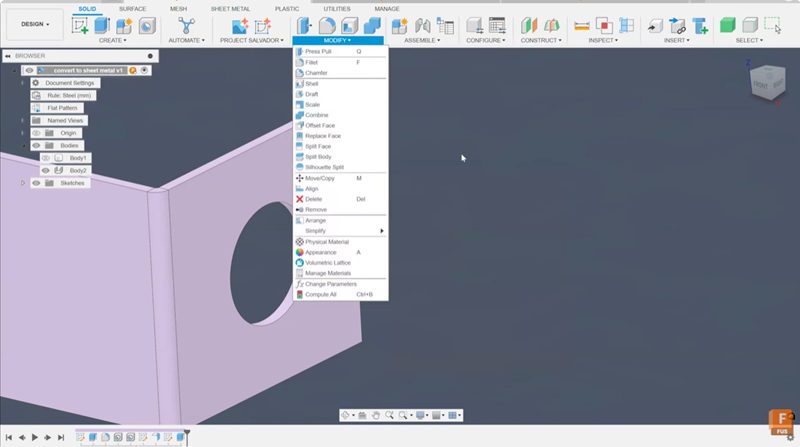
Option 2: Move command – Quick and flexible
If all you need to do is to shift an existing feature slightly, use the Move command:
- Select the object, face, or body you want to move.
- Press the M key (shortcut for Move).
- Input an exact distance or use point-to-point positioning.
For example, you can move a hole’s center exactly 12 mm in the Y direction, or align it with a specific point in your design using the “From/To” option. This direct editing approach is fast, predictable, and ideal for downstream refinements before production.
When to work parametrically vs. directly
Both approaches have their place. Parametric editing gives you complete control over design intent, constraints, and dependencies. This is a must in early design stages or when developing configurable parts.
But in manufacturing, time is often the real constraint. If you’re preparing for CNC, rendering, or 3D printing, direct edits at the end are highly practical. The key is balance—knowing when to stay parametric and when to be direct.
Timeline edits in Fusion: Key takeaways
- The end of the timeline represents your complete design ready for delivery—don’t be afraid to adjust it.
- Fusion supports both parametric and direct edits—use the best tool for the situation.
- The Delete Face and Move commands are powerful allies for making quick geometric fixes.
- Always validate your final geometry before production to ensure edits haven’t introduced conflicts.
Whether you’re a new designer learning the ropes or a seasoned engineer refining your workflow, mastering timeline edits in Fusion helps you stay agile and efficient. Making changes late in the process shouldn’t feel like a setback—it’s part of designing smarter.