Welcome to the seventh in a series of posts to lead you through the powerful Sheet Set functionality available in AutoCAD. In the previous posts, you learned everything you need to know to use the Sheet Set Manager (SSM) as your primary tool for accessing drawings. Combine that with the ability to plot your sheets using their default page setups, and you can save a huge amount of time over the life of your project. Even if you only take advantage of Sheet Set functionality for these few tasks, it will have been worth your effort!
Think about how you plot your sheets without using the SSM. Imagine that you’re working on Project B when someone sends you an urgent request asking you to plot all the sheets for Project A. You stop what you’re doing and begin opening the drawings for Project A, one at a time. Of course, that is after you navigate to the Project A folder and locate the correct subfolders and drawing files. Project A includes several versions of subfolders and drawing files and you must be careful to find the correct ones. Each time you find an appropriate drawing, you open it, select the appropriate layout, and plot. While you’re busy opening and plotting drawings, your coworkers are frustrated. They’re trying to edit these Project A drawings but they can’t because you have the drawings locked.
Using the SSM for plotting can significantly reduce the amount of time you spend plotting your drawings. Even if you are unfamiliar with a project, you can quickly plot the entire sheet set without having to open and view each drawing file. Your coworkers can continue editing the drawings while you use the SSM to send the entire set of sheets to their default plot device. Keep in mind, however, that this method assumes each sheet has been saved with the proper page setup. Using this method is the same as opening the drawing, selecting the layout, and choosing Plot, without making any changes to the page setup. Later you’ll learn how to override the default page setups on the fly!
1. Select sheets to plot. In the SSM, select the sheets you want to plot. You can use the Shift and CTRL keys to specify a range or specific sheets. You can also select subsets or the entire sheet set.
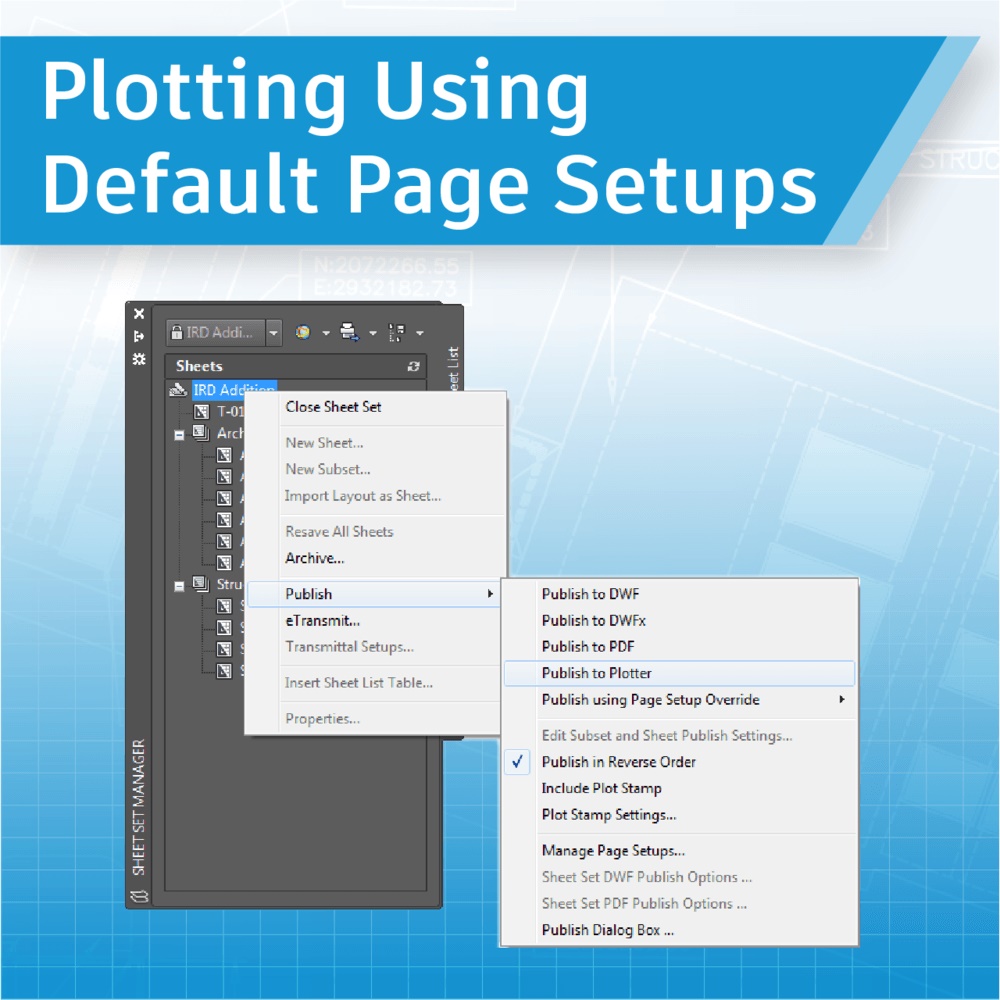
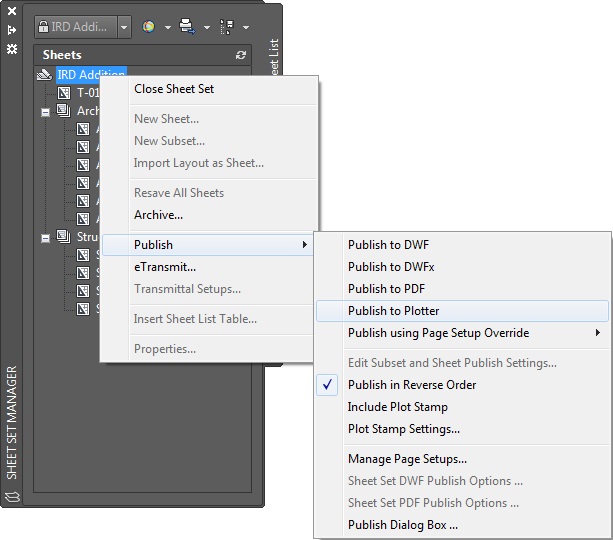
2. Right-click and choose Publish>Publish to Plotter.

Additional options in the right-click menu even enable you to publish in reverse order or to include a plot stamp!
What’s next?
If you think plotting to the default plotter was easy, stay tuned for the next post when we’ll explore options for publishing to PDF or DWF files. It’s just as easy!
Remember, you can always catch up on the entire Mastering AutoCAD Sheet Sets series!


