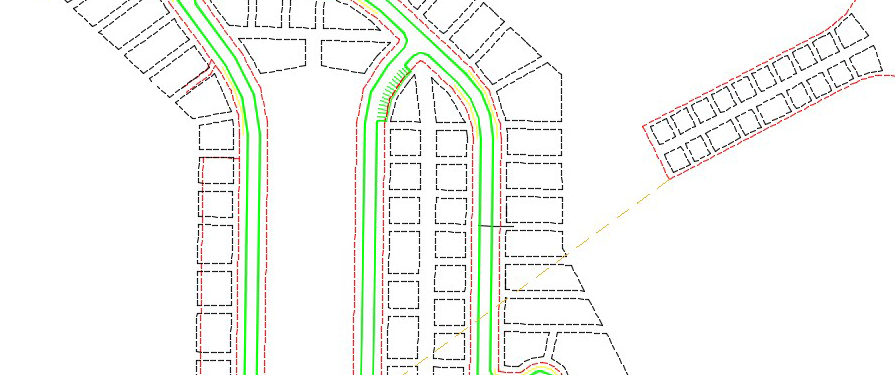
In our last installment of the series on time-saving Map 3D toolset tools, we will explore Transform and Rubber Sheet.
Transforming and Rubber Sheeting
Both the Transform and the RubberSheet tools in the Map3Dtoolset allow you to adjust drawing objects based on other objects or points in the drawing. The Transform tool permanently scales, moves, and rotates objects within the current drawing. The Rubber Sheet tool extends the Transform tool by performing non-uniform (skewed) adjustment based on control points in the drawing. Both tools have no direct equivalent in AutoCAD.
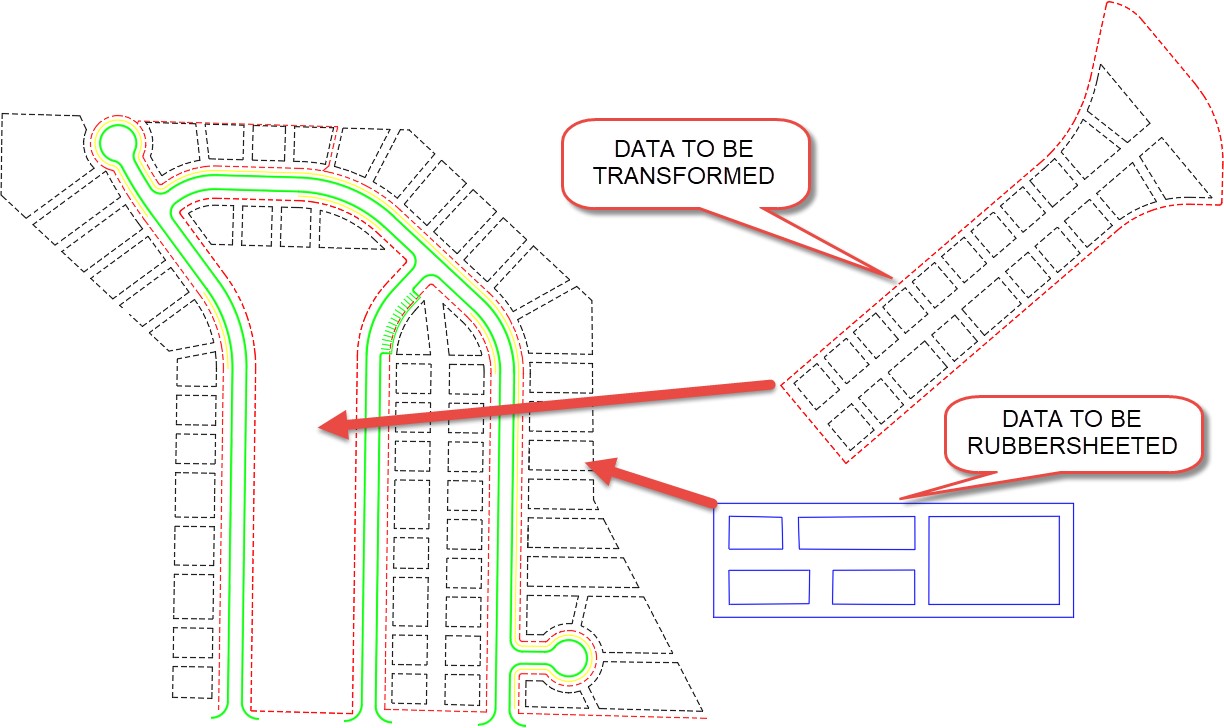
Let’s look at an example of using these tools. In the drawing below, I have data that was located in the field by surveyors with no coordinate system defined, and it needs to be transformed to the correct spot. We also have some data that needs to “fit” (rubber sheet) into an existing parcel (someone accidentally brought it in the wrong units).
The Transform Tool
The transform tool is located in the Ribbon: Tools tab > Map Edit panel > Transform tool. The basic workflow of this tool is the following:
1. Select the appropriate objects.

2. At the First source point prompt, snap to the first source point.

3. At the First destination point prompt, snap to the destination point.
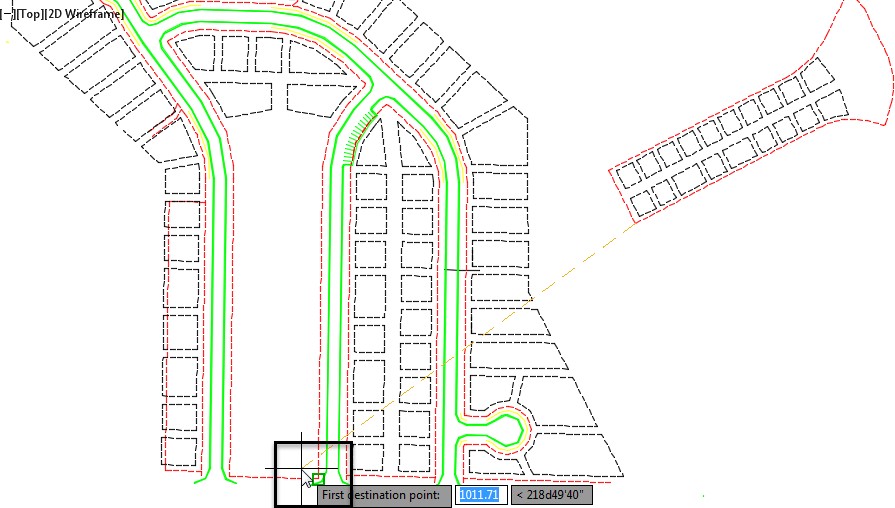
4. At the Second source point prompt, snap to the second source point.
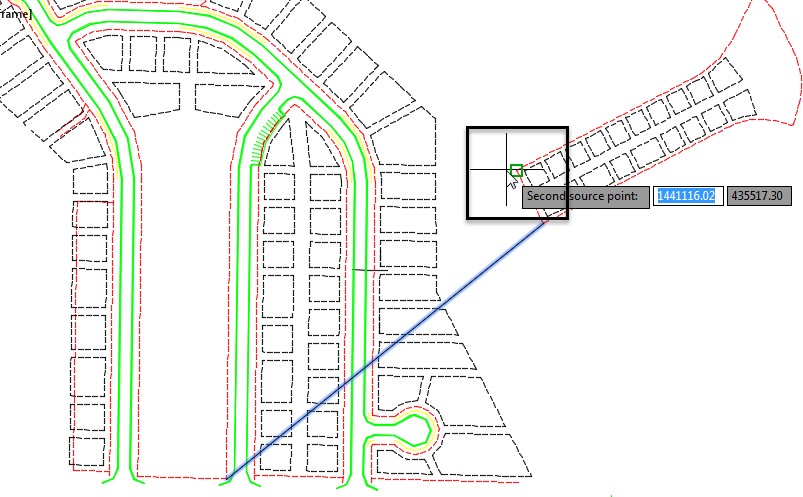
5. At the Second destination point prompt, snap to the second destination point.
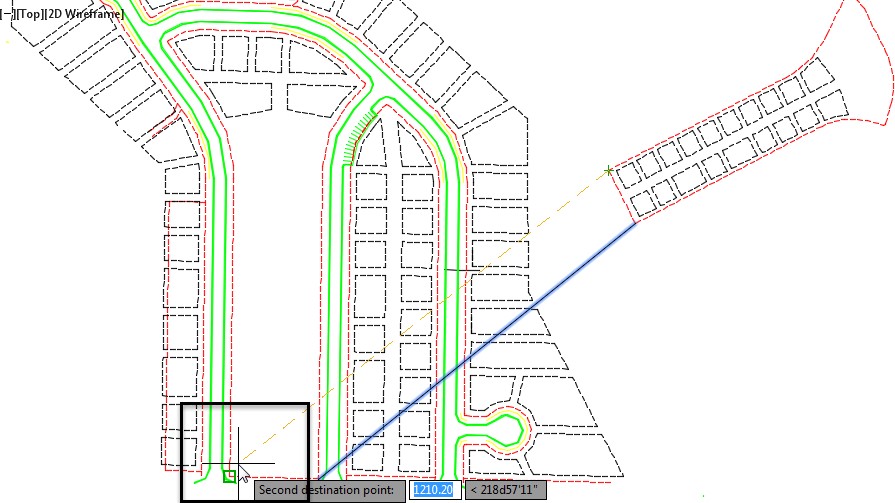
The objects are automatically transformed.

I think I hear oooooohs and aaaaaaahs right now.
The Rubber Sheet Tool
The Rubber Sheet tool is located in the Ribbon: Tools tab > Map Edit panel > Rubber Sheet tool. The basic workflow of this tool is the following:
1. Navigate to the Ribbon: Tools tab > Map Edit panel > Rubber Sheet tool.
2. At the Base point 1 prompt, snap to the first base point.

3. At the Reference Point 1 prompt, snap to reference point 1.
4. Then, you repeat this process for as many points you need to rubber sheet the objects into the area of interest. In this case, it’s the other three points of the rectangle.
5. At the last Base Point prompt, press ENTER.
6. Select the objects, and press ENTER.
7. The objects are rubber sheeted into the rectangle.

And there you have it!
Be sure to check out our entire “Map 3D Toolset Tools for Regular AutoCAD Objects” series. These are just some of the awesome Map 3D toolset tools that truly save you hours of time editing regular AutoCAD objects.


