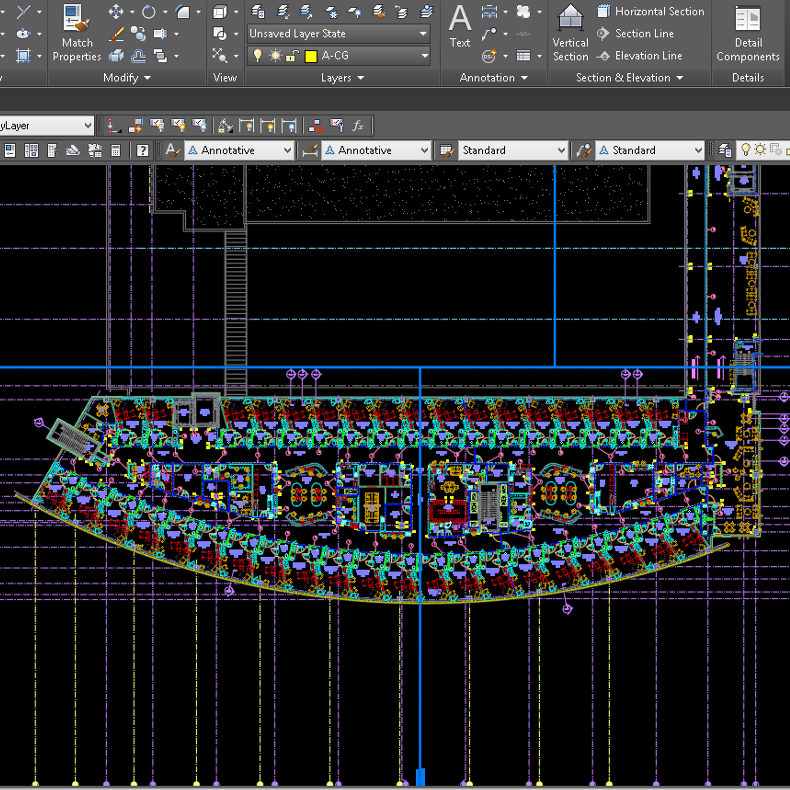
We’ve all been tasked with cleaning up AutoCAD files received from an outside source so they meet our company’s standards. Usually, we get multiple AutoCAD files from the same company. If you’re limited to AutoCAD LT, you have to run through a ridiculous set of processes. Worse still, you have to repeat these steps for each of the files you’ve received!
Ah, but then you get an idea: Why not paste all the files into one drawing and do the cleanup only once? Great idea—except that about half the time (you find out the hard way), the drawings author has used the same block name for different objects in different drawings. Darn.
AutoCAD vs AutoCAD LT for Drawing Cleanup: AutoCAD LT Plods Along
In the following example, I’ll show you how I used AutoCAD LT to clean up a hospital floor plan. For this operation, my idea of a clean drawing is two layers: One for the architectural background, one for background text.
1. Open the received file.
2. Freeze all the layers you don’t want visible in the finished, clean file.
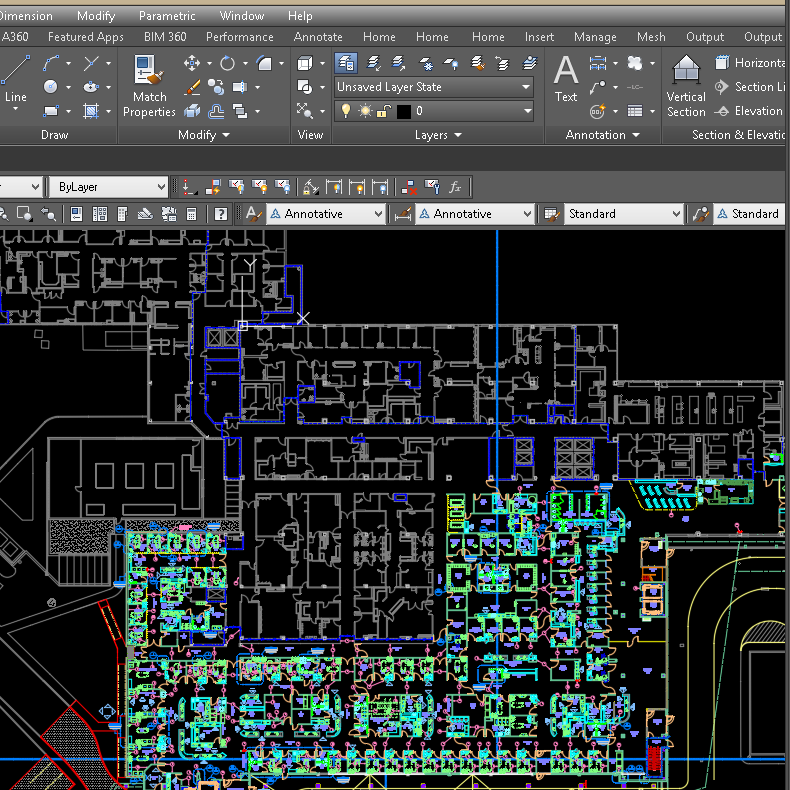 3. Once all the desired layers are visible (on, and thawed), select all and execute the CUT command.
4. Paste into a new drawing: drawing1.
5. Cut all the text blocks and leaders from drawing1.
6. Paste into a new, separate drawing: drawing2.
7. Create a “background text” layer.
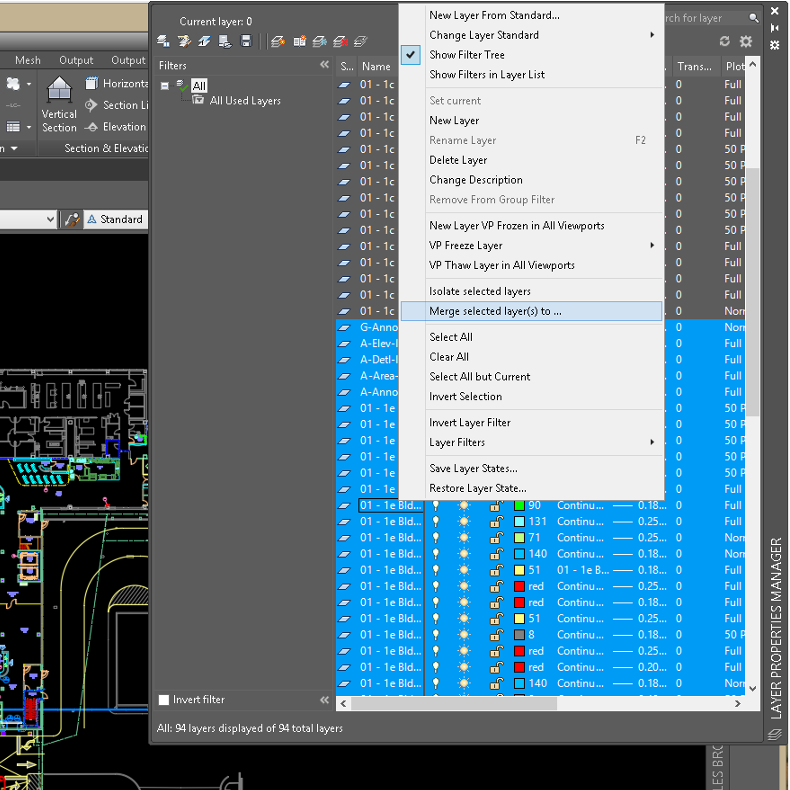
8. Use LAYMERGE to merge all on and thawed layers to the “background text” layer. (Best way to use this command is to select the layers in the layer pallet, right click, and select the Merge layer; it will prompt you to select a target layer from a list. For some reason, this doesn’t seem to work properly unless none of the layers are locked.)
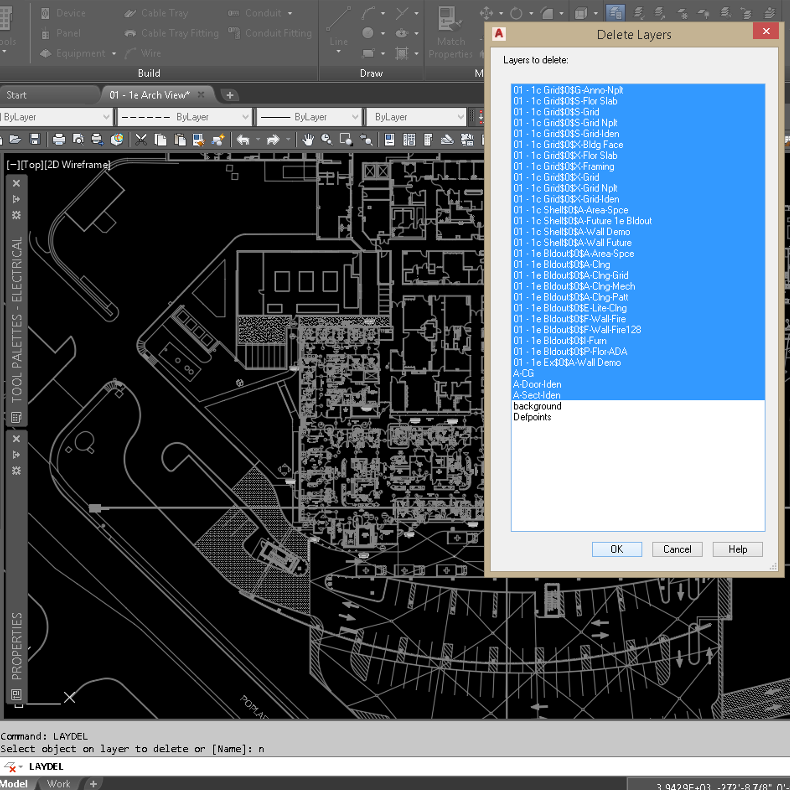
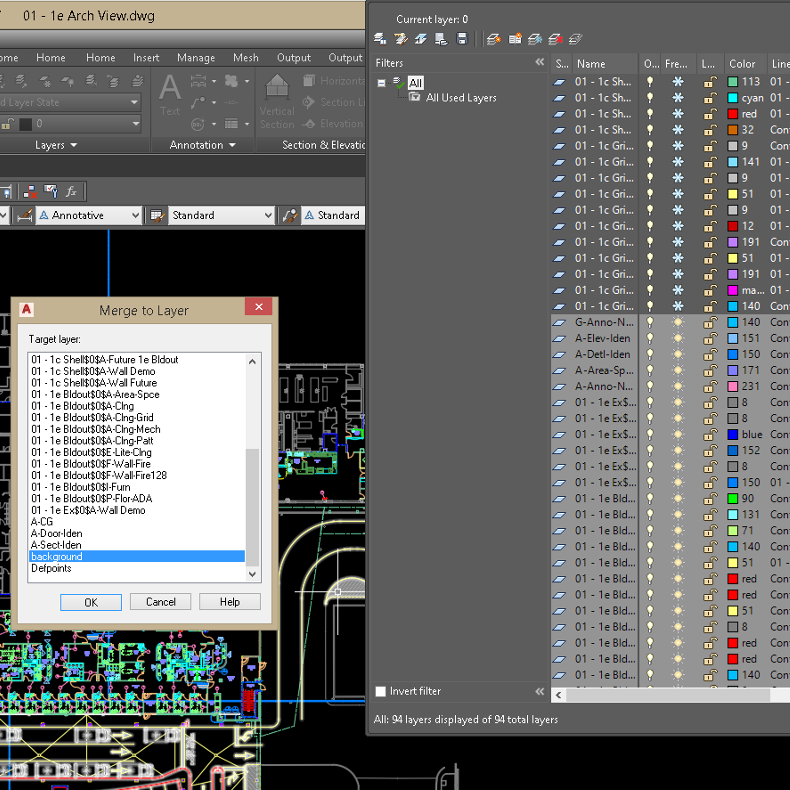 9. Use the LAYDEL command to delete the remaining off or frozen layers. (Hit N for names and the remainder of the trash layers are easily deleted.)
11. Create a “background layer.”
12. Merge all on and thawed layers to the “background” layer.
13. Use the LAYDEL command to delete the remaining off or frozen layers.
14. Purge drawing1.
15. Cut the background text out of drawing
16. Paste into drawing 1.
17. Purge, audit, and save.
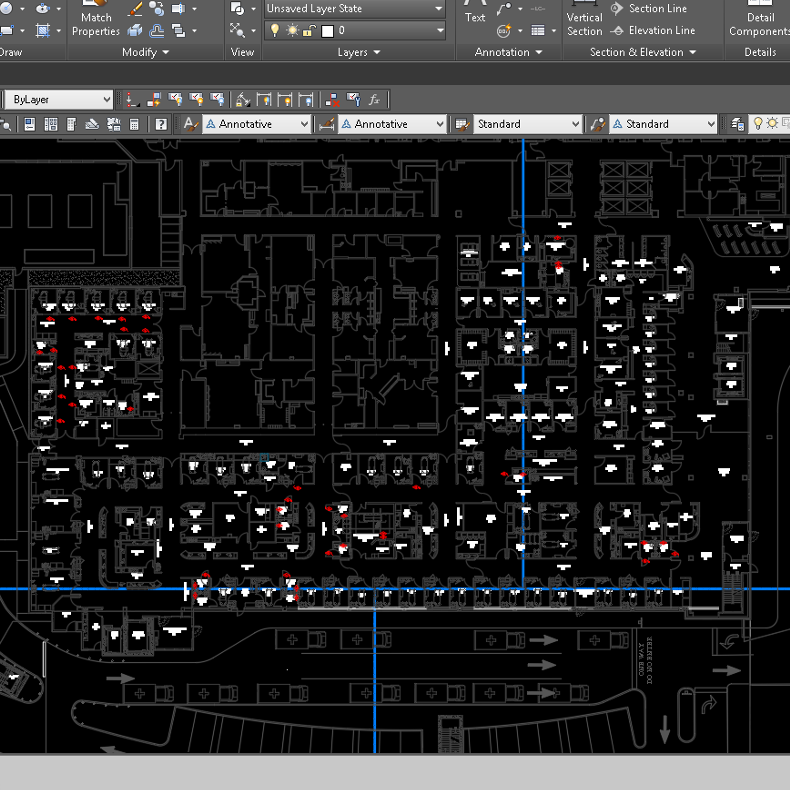 Now let’s go over the method I’ve adopted using the full version of AutoCAD.
AutoCAD vs AutoCAD LT for Drawing Cleanup: AutoCAD Sprints to the Finish Line
The command is called LAYTRANS. Use it to select layers individually or in bulk within the dialog box, and then map them to any given layer from a standard template file or to create them from scratch. Did you read that last part? I’ll reiterate: With this command, you can load layers from a template file, or create them from scratch, and then—this is the important part—you get to simply map the undesired layers to a layer of your choosing. Pretty cool, huh?
But maybe the best part about LAYTRANS is this: Once you have mapped all the layers the way you want, you can save the translation to a file and load that data into another drawing, and LAYTRANS will load the translation and automatically map the layers for you.
This comes in real handy when you get several AutoCAD files from the same architect or engineer time and time again, like I do. Once you have translated one company’s file, you can use the translation over and over; if layers change here and there, you just add the extra layer to the map and save the file again. Here’s a rundown of my steps for this operation:
1. Open the received file.
 2. Execute the LAYTRANS command.
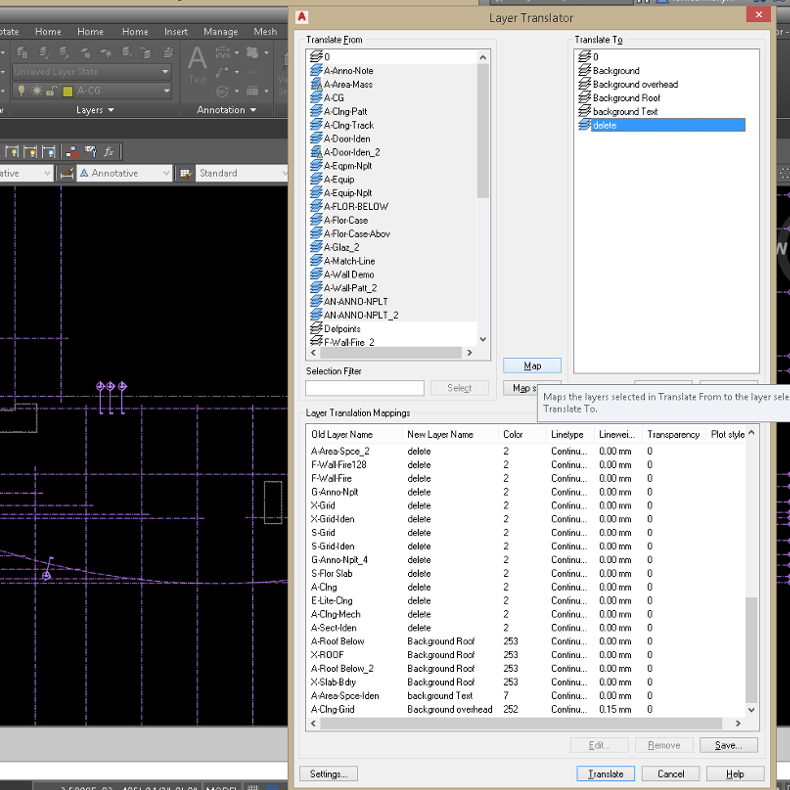 3. Select the load option and grab your company’s template file. (Once you have translated a DWG file from this architect/engineer, you can load a previously saved translated file.)
4. From the left window, select the undesired layer (individually or in bulk).
5. From the right window, select—or create and select—layers.
6. Click MAP.
7. Your selected layer from the left window disappears, and shows up as a mapped layer in the bottom window.
8. Once you’ve mapped all the layers you want, you can save the file as a DWG or DWS. 9. Hit the translate button.
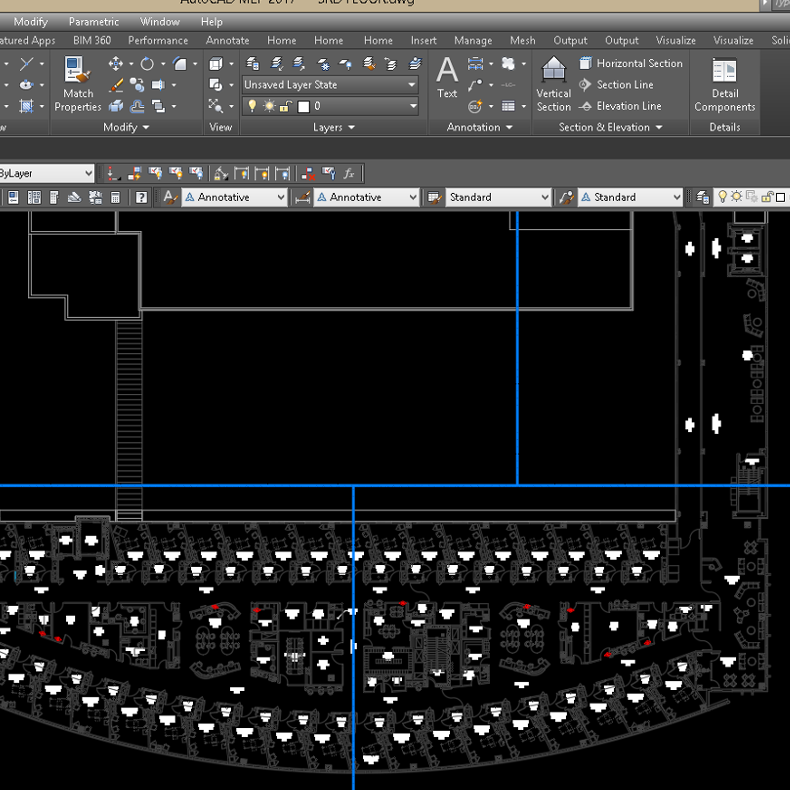 10. Open the next drawing and repeat—only this time you can load the DWG or DWS you created the last time from the same client.
When you keep getting files from the same architect/engineer for project upon project over several years, this is a huge time saver. The translation file will grow and evolve. You won’t have every exact layer captured from one file to another—there are always going to be rough layers in just about every drawing you come across—but LAYTRANS will get you pretty far down the road in the land of drawing cleanup.
